
No-Sew Napkins

It's no secret that I'm not very good with a sewing machine, I'm getting better, but I still prefer no-sew projects. I've spent a small fortune on napkins; I love adding colour and texture to my tablescapes with napkins. I've purchased low-quality ones from Winners 12 for $20.00 all the way up to high-quality Pottery Barn ones at $10 each. I can honestly tell you they all wash the same, and they all need ironing after they've been laundered. I can't be bothered. Frankly, I have no desire to iron something I'll need to wash in a few hours just to make them look pretty on the table.
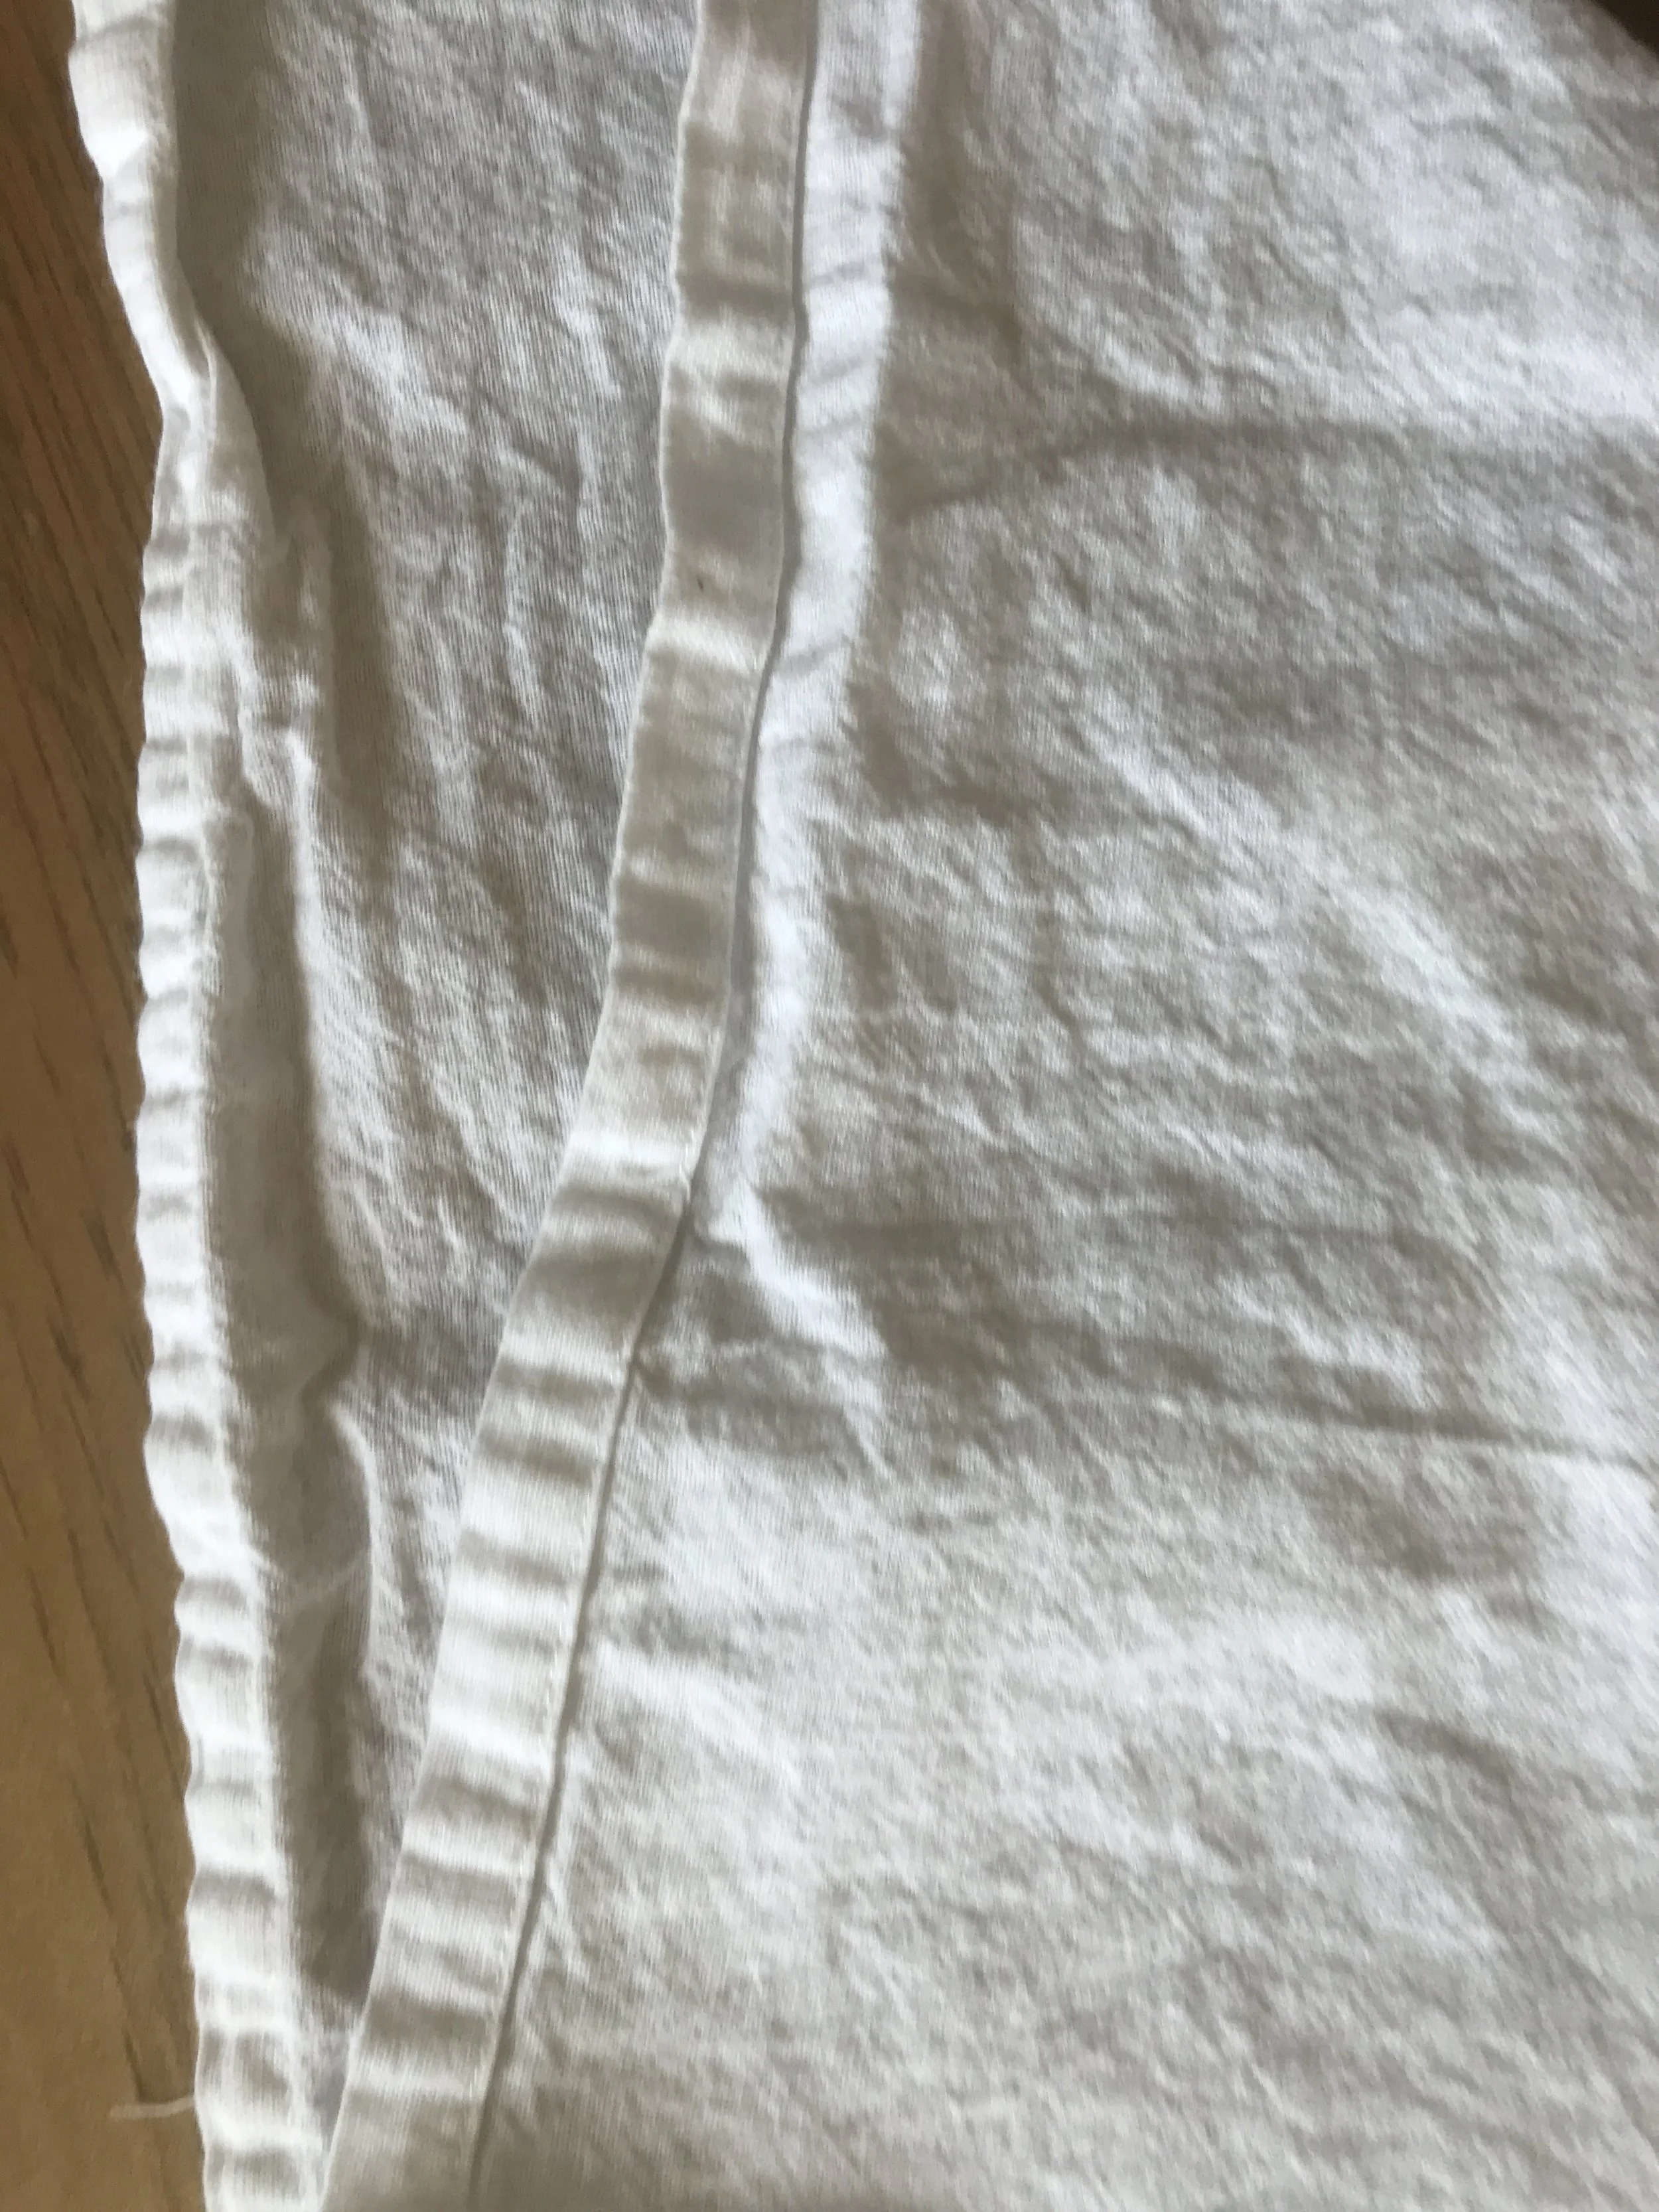
Washed Napkin from Pier1
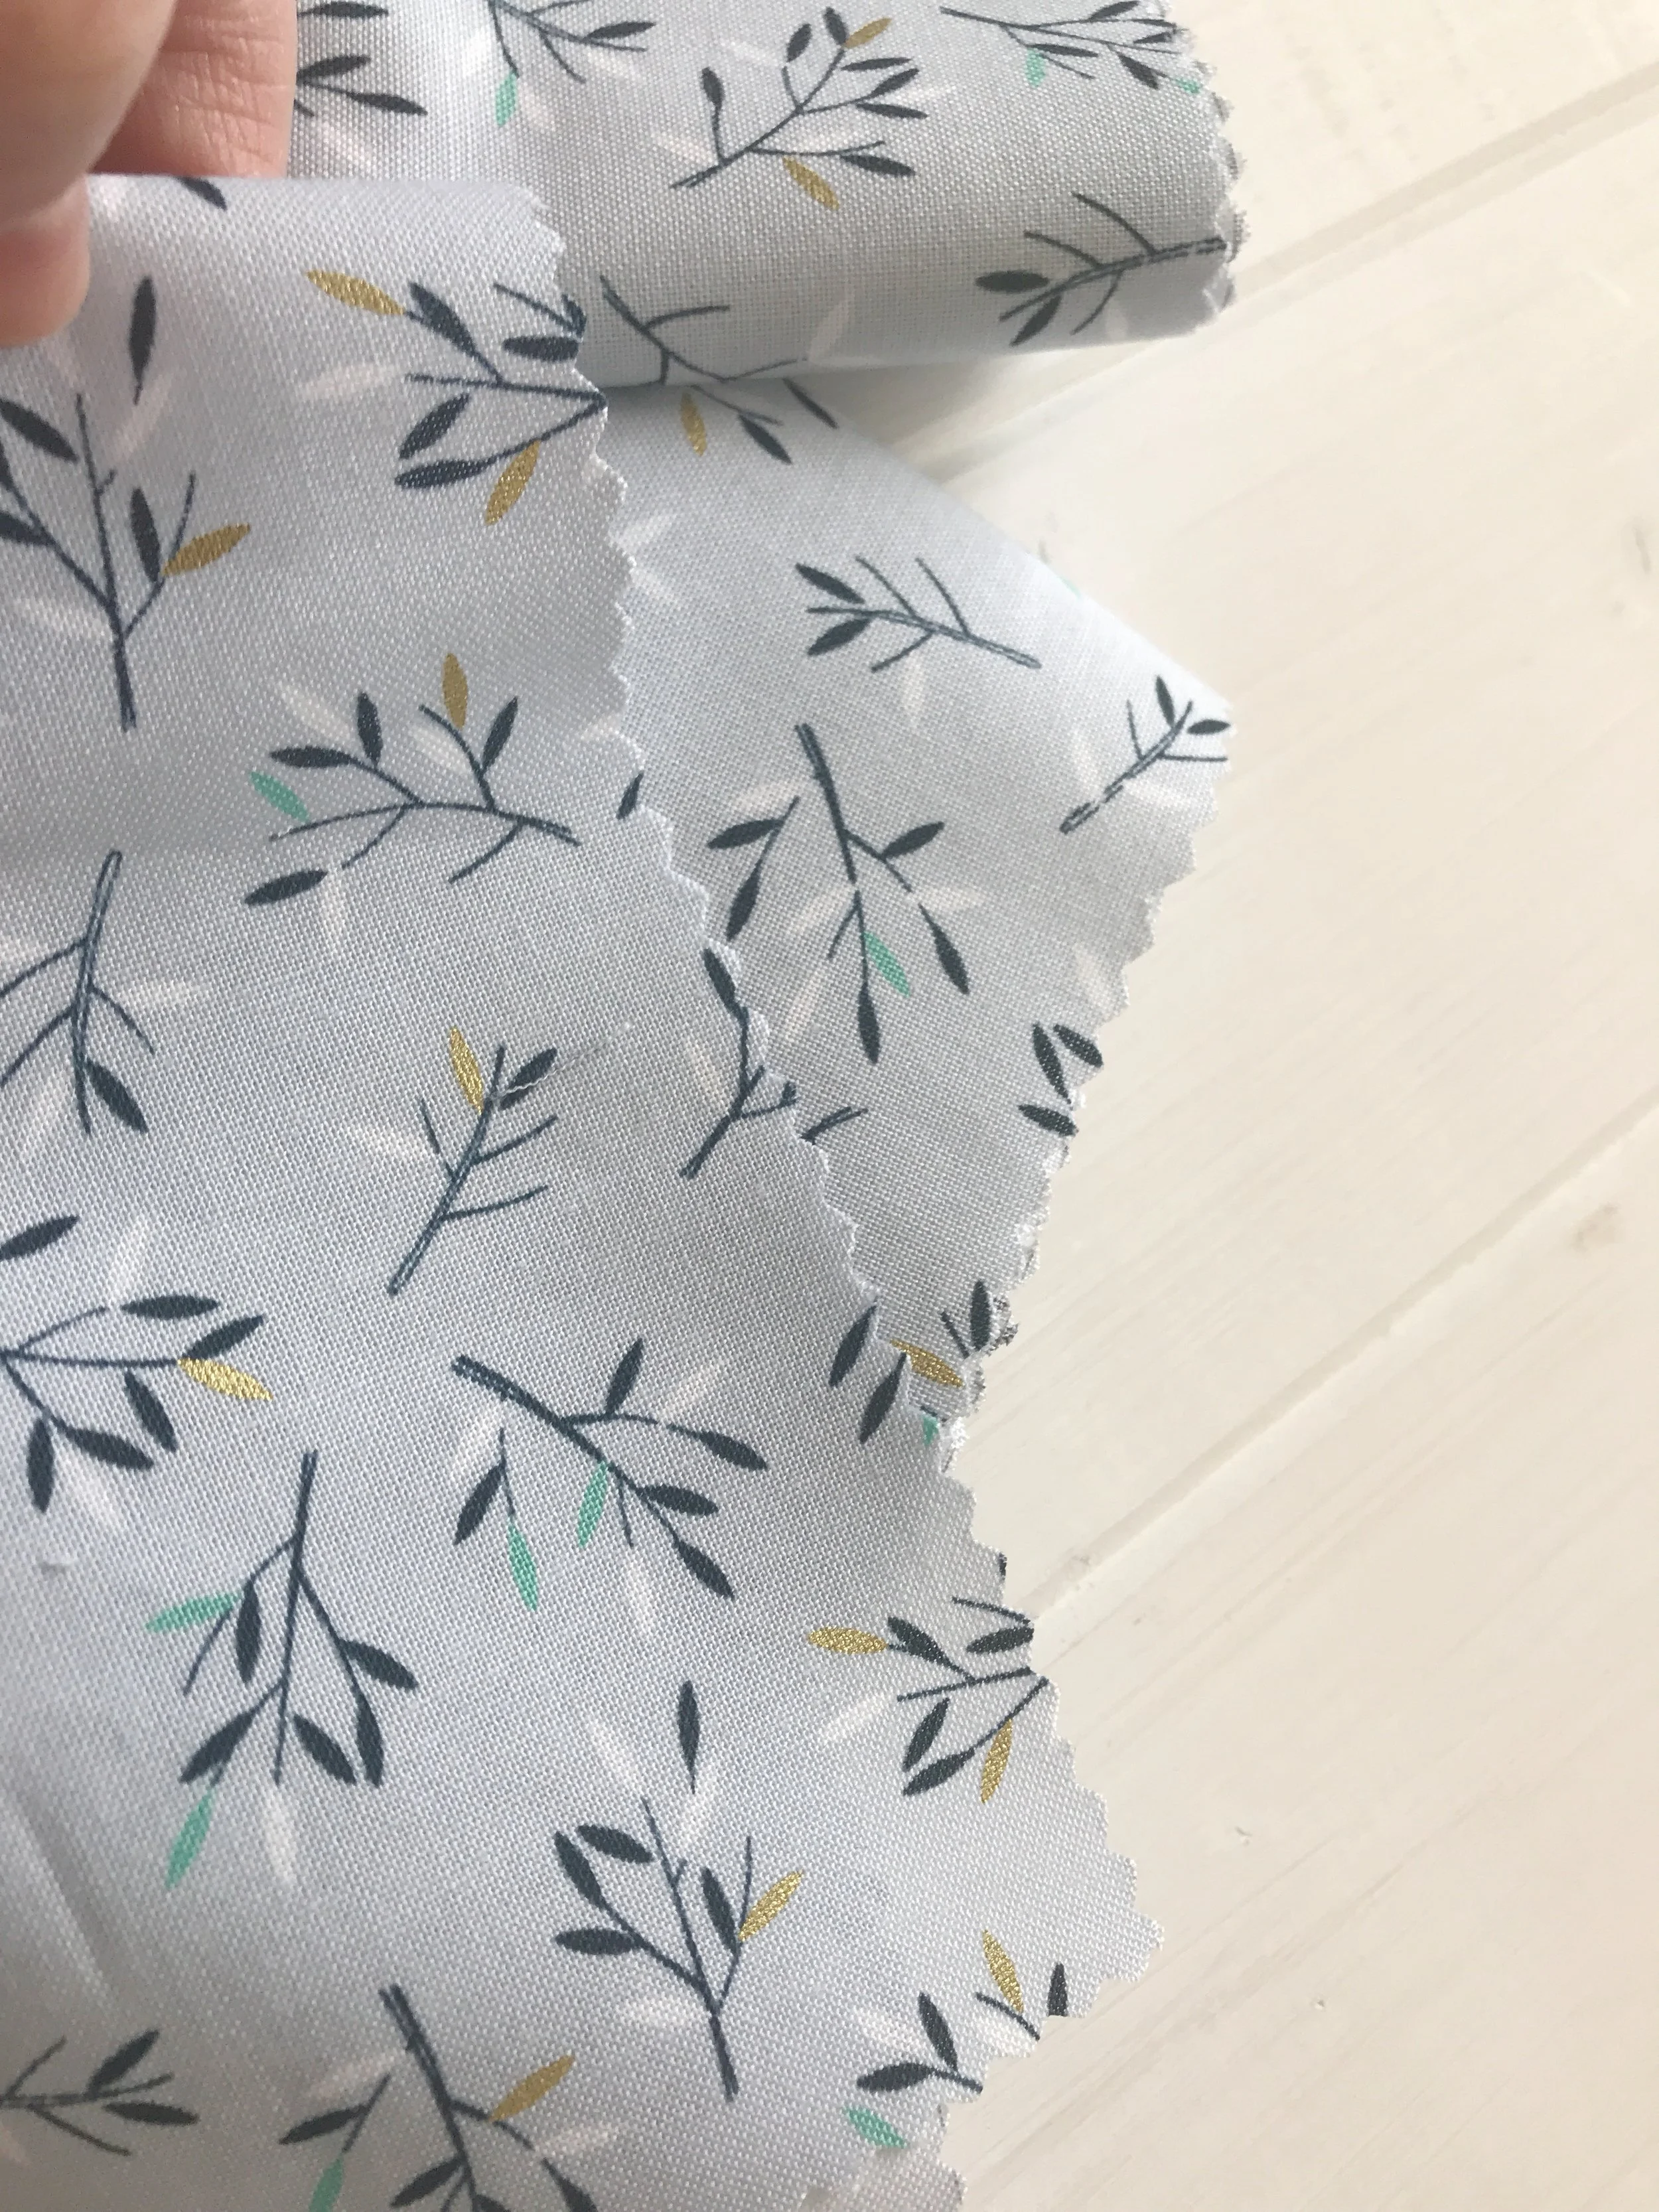
I was trying to figure out a cheaper way to get napkins... so I could own more. I looked at Etsy, Amazon, I thought about sewing my own, but all those options led me to the ironing problem! Then it dawned on me, Pinking Shears! They keep the edges from unraveling, right? So I cut up some old fabric, washed it a few times, dried it on the line, and in the dryer. A tiny bit of shrinking but no rolled edges or loose threads. With Mothers day around the corner, I thought it would be the perfect time to test out some new napkins. A local maker just opened up a fabric shop in town; I've been admiring her Instagram photos for weeks, just waiting for the perfect project. I spent a few hours on her website Oh Look Fabric then went to the shop to grab my favourites.
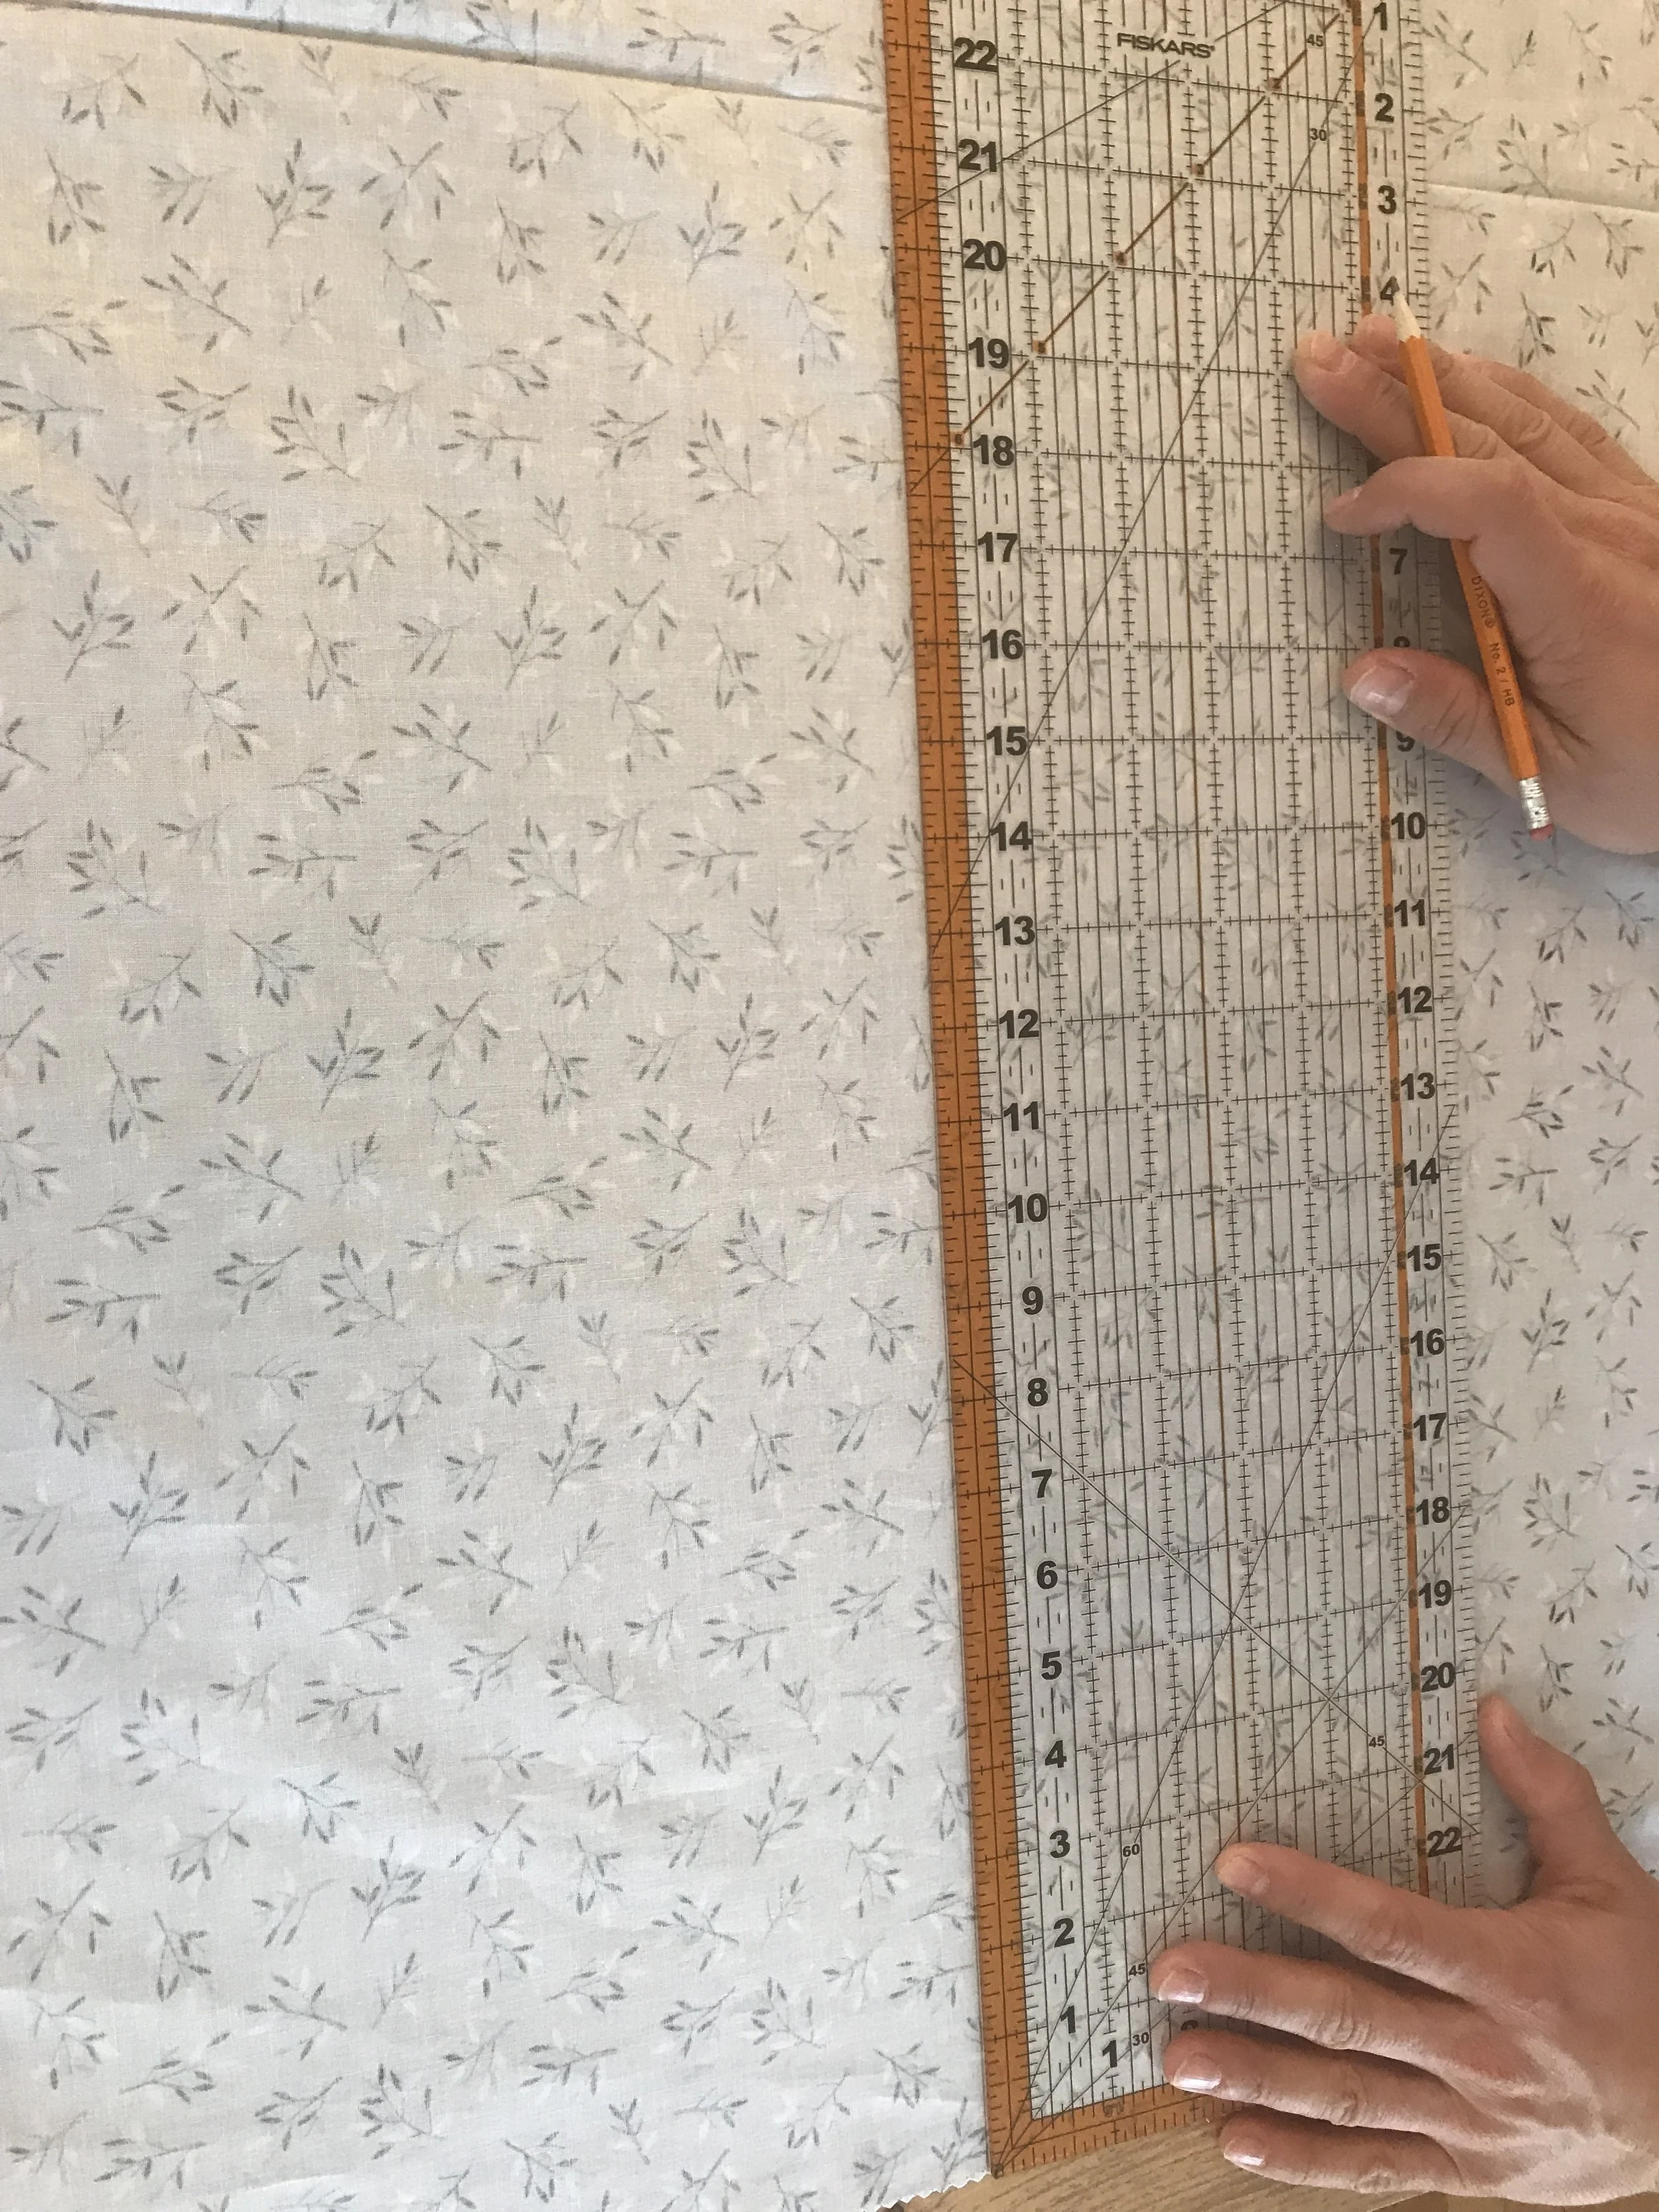
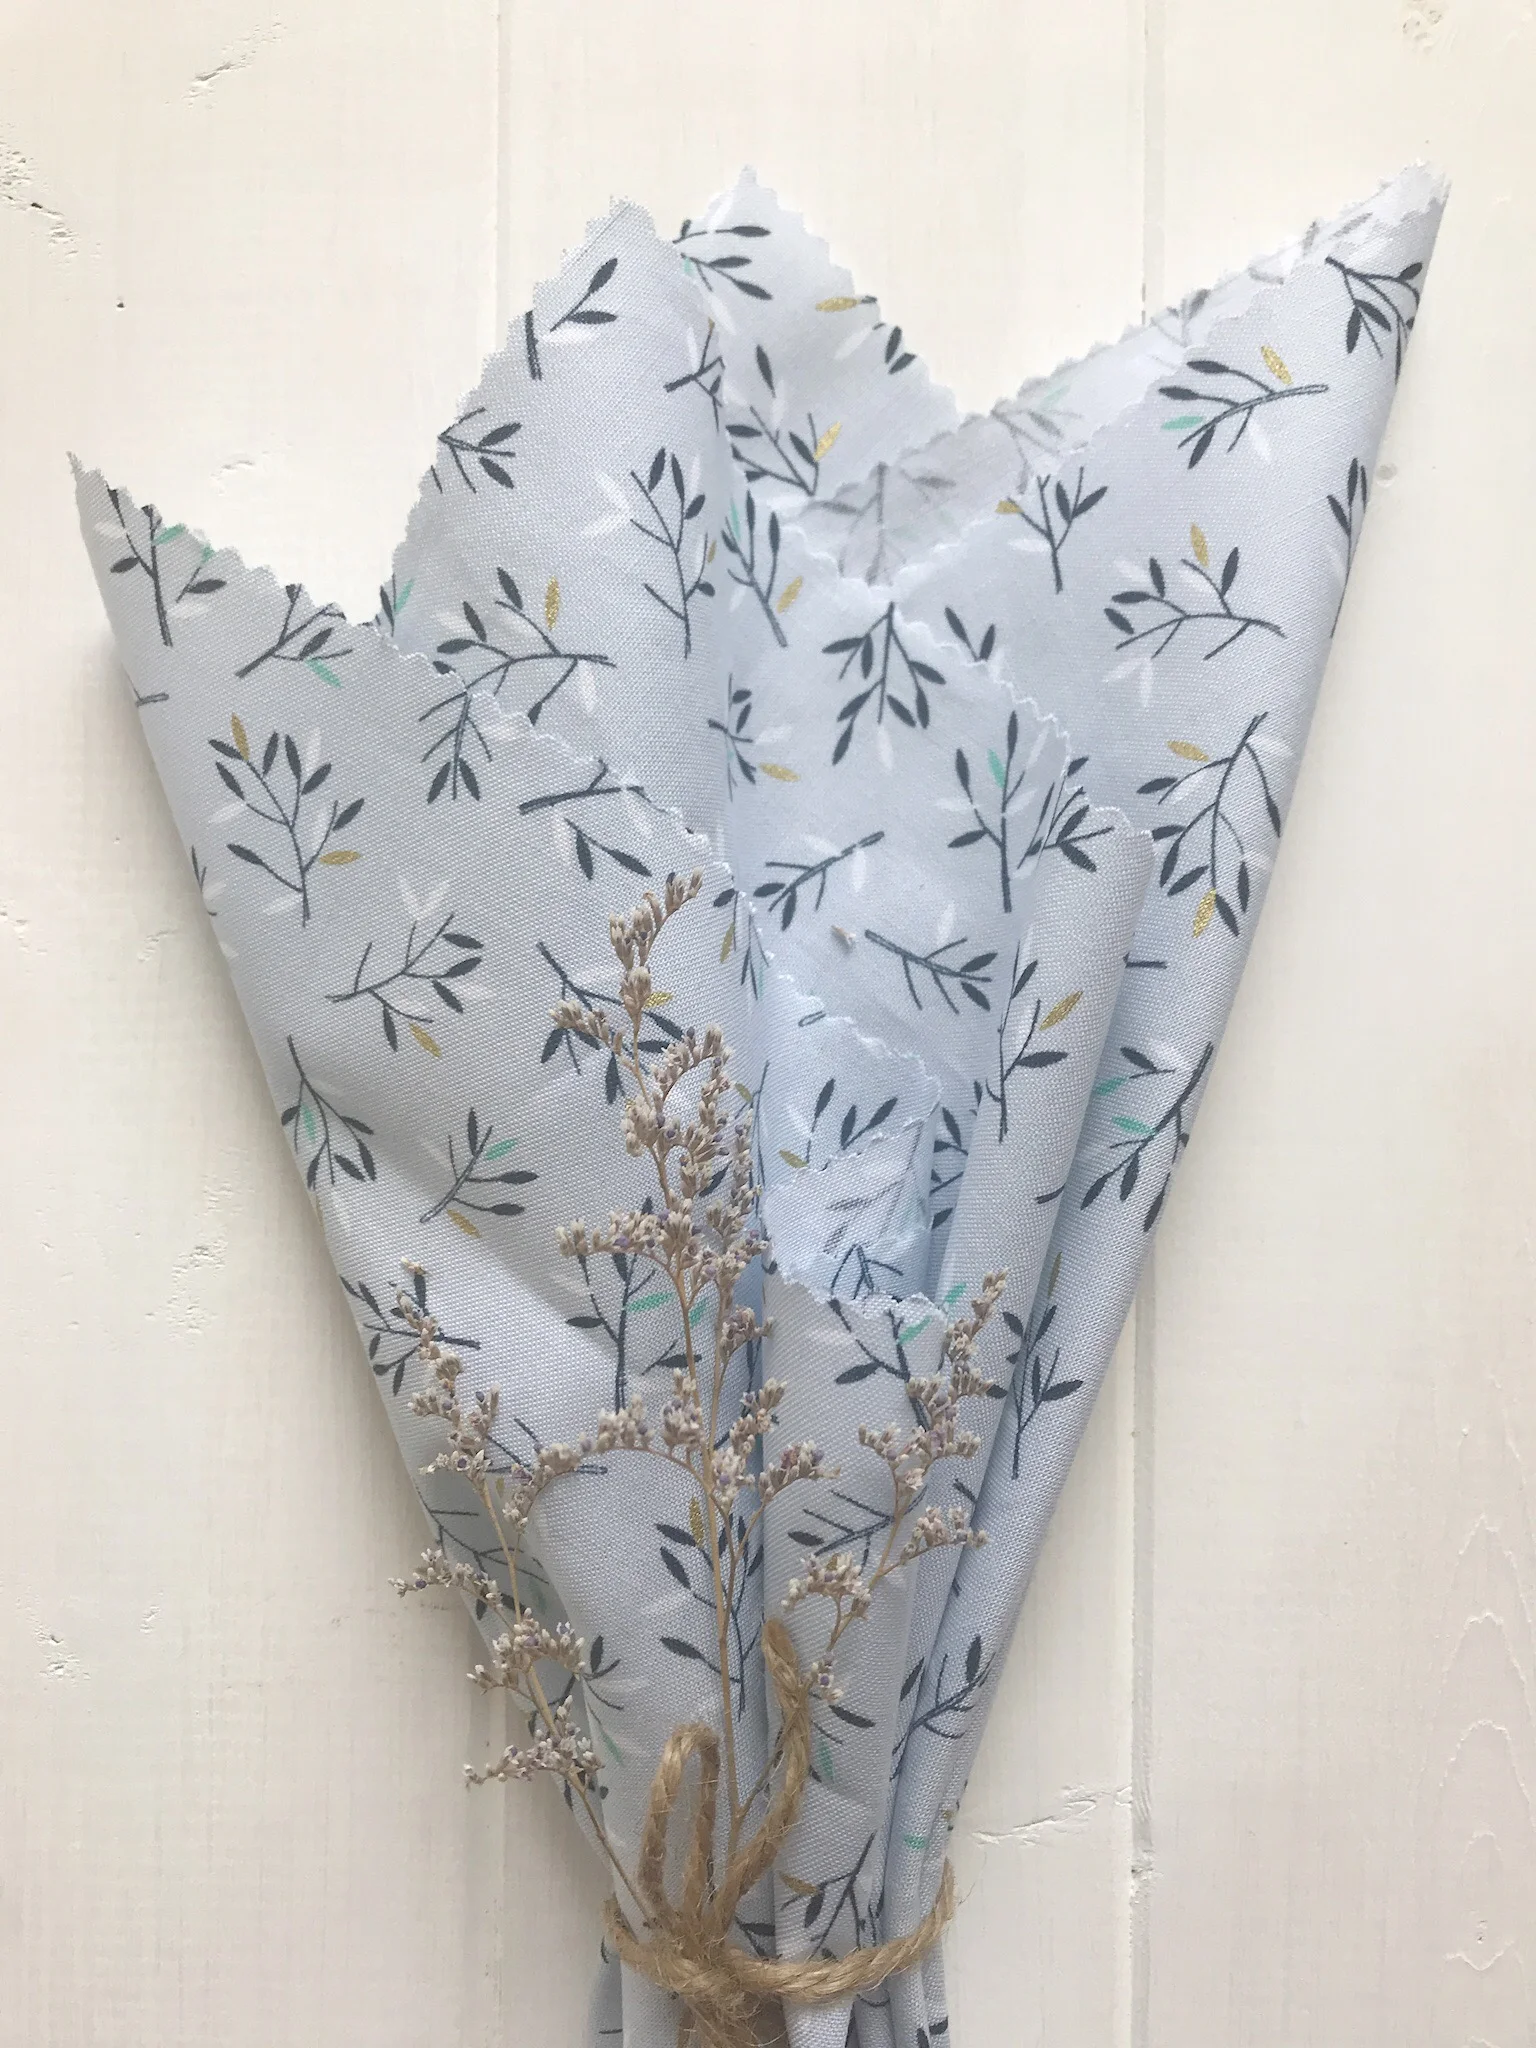
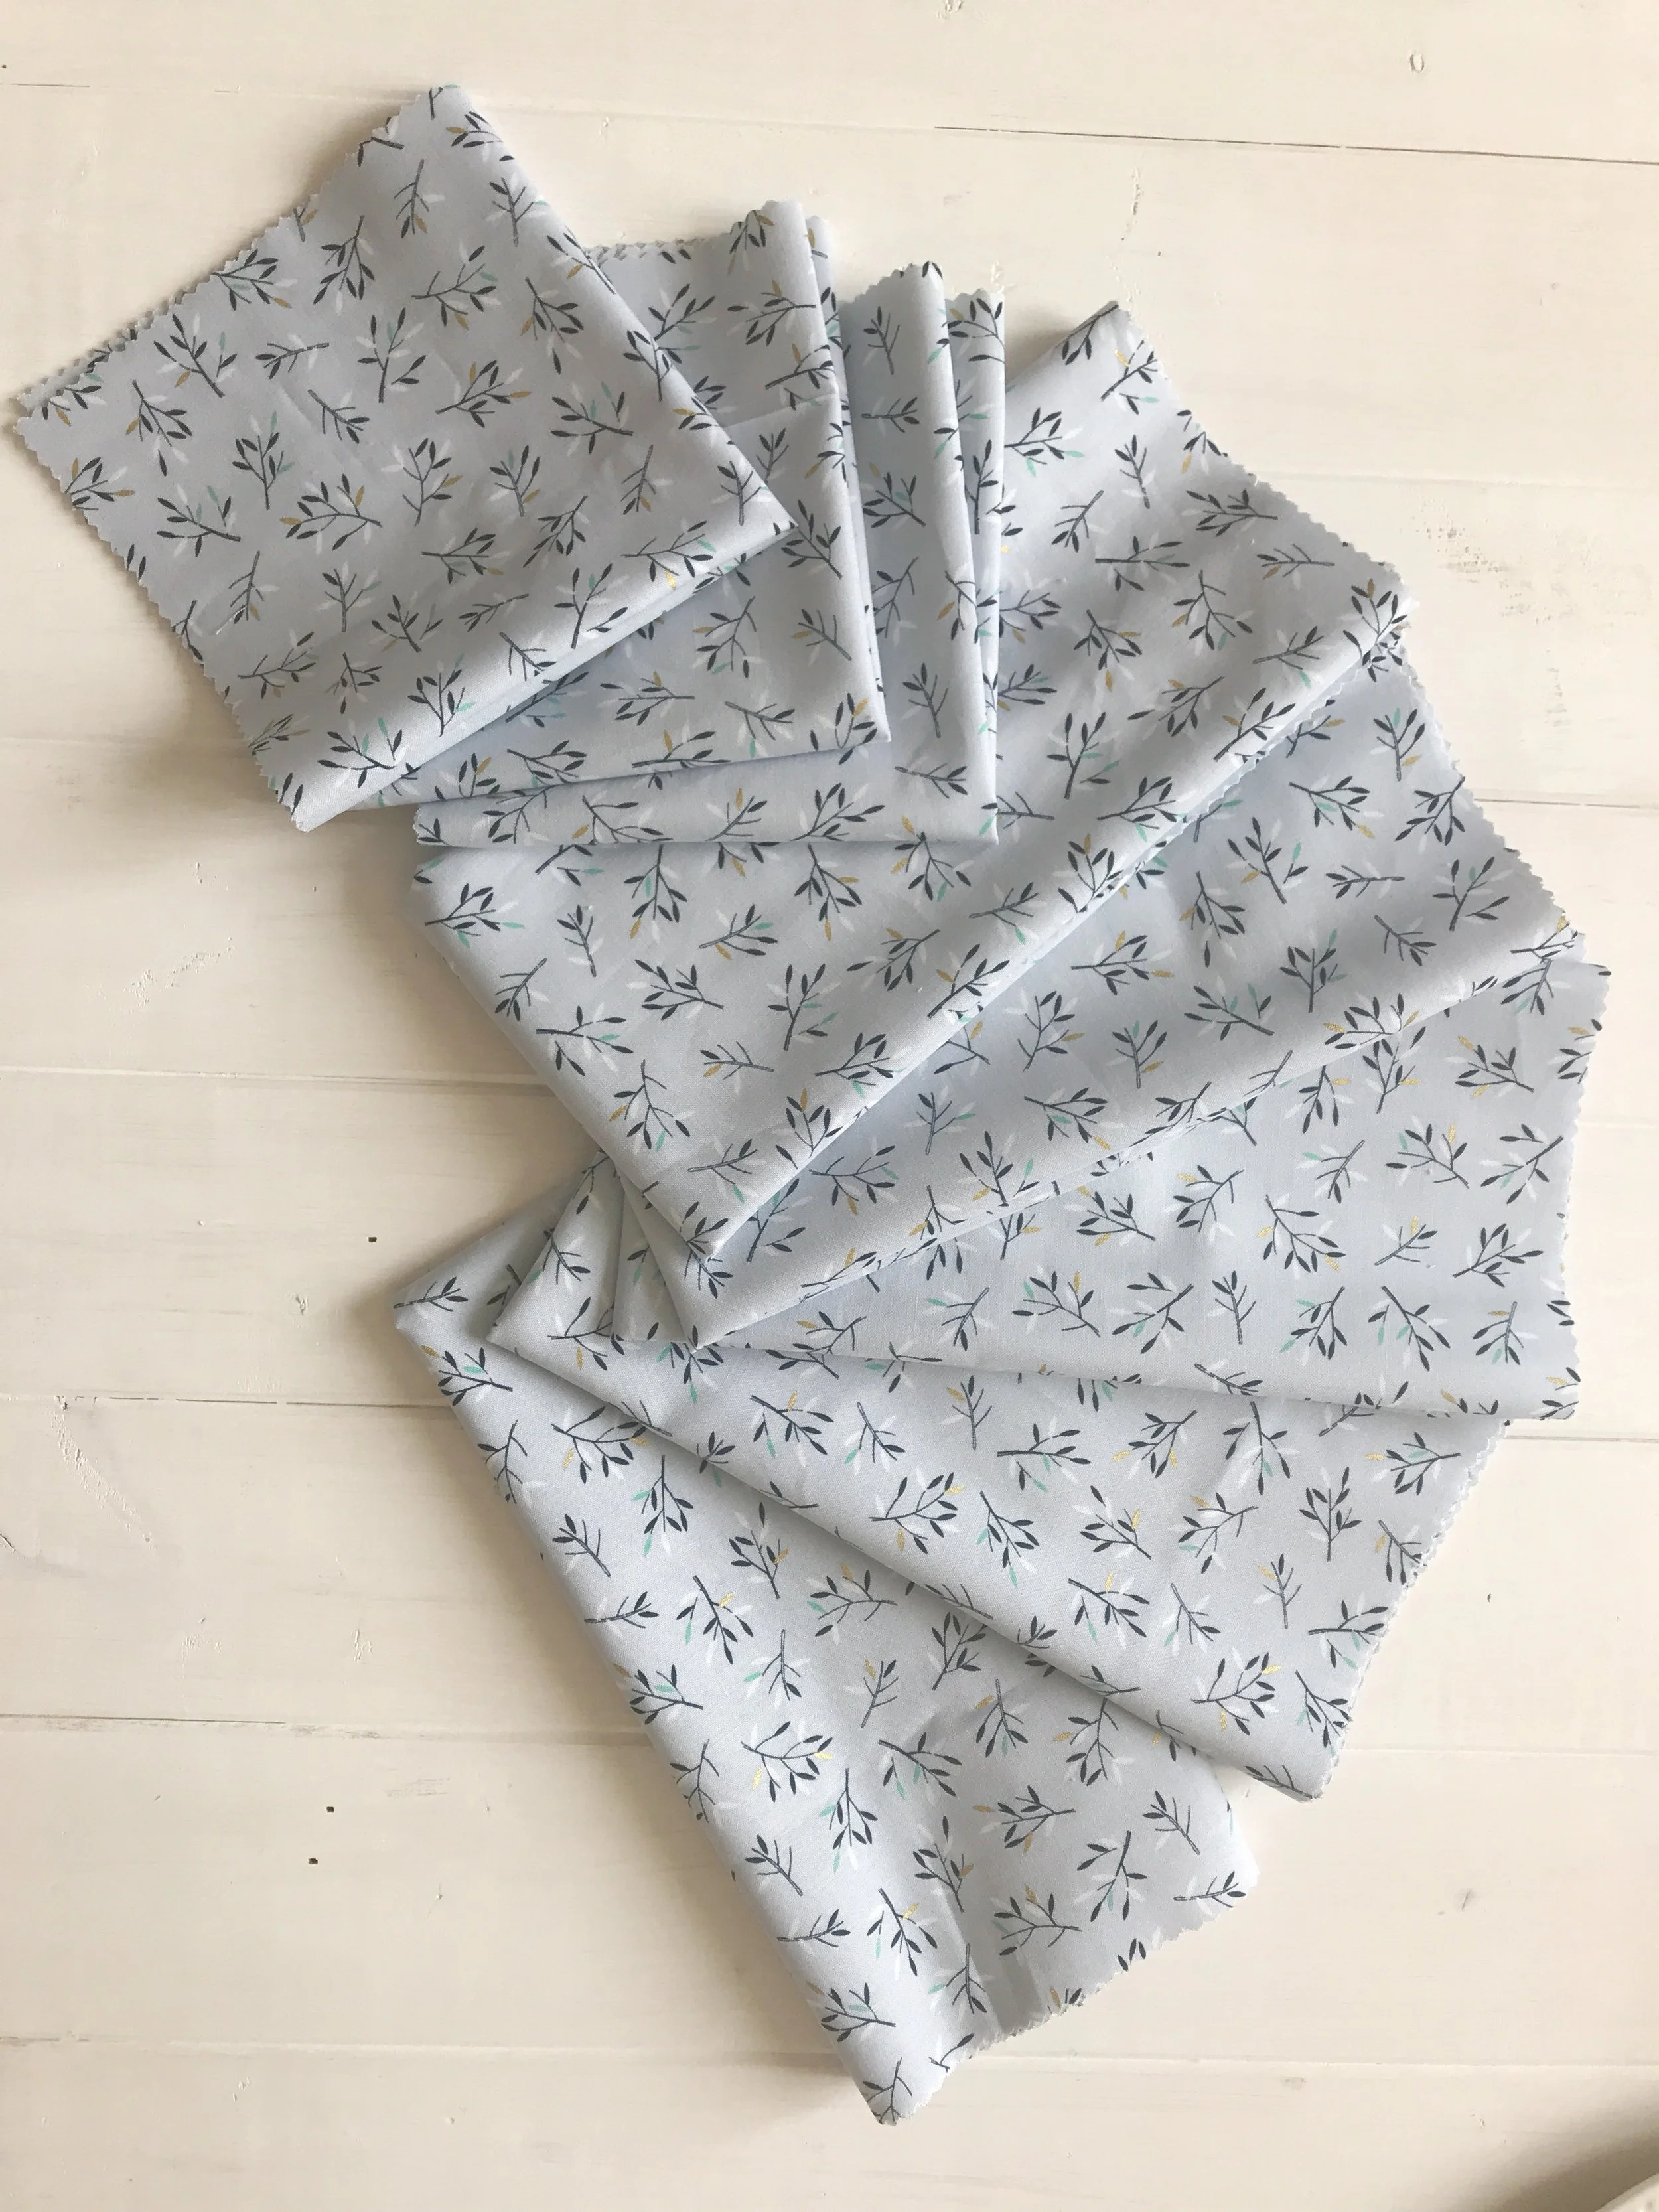
I decided to keep the pink for summer picnics and use the blue for Mother's Day. I am terrible at measuring, drawing/cutting a straight line so, I called in the expert. Yup, you guessed it, Mr. Good at everything; Anthony! He measured and cut with the pinking shears. I paid $22.84(plus tax) for two yards of fabric and got 6 (20x20") and 3 (12x12") The whole project took him less than an hour.
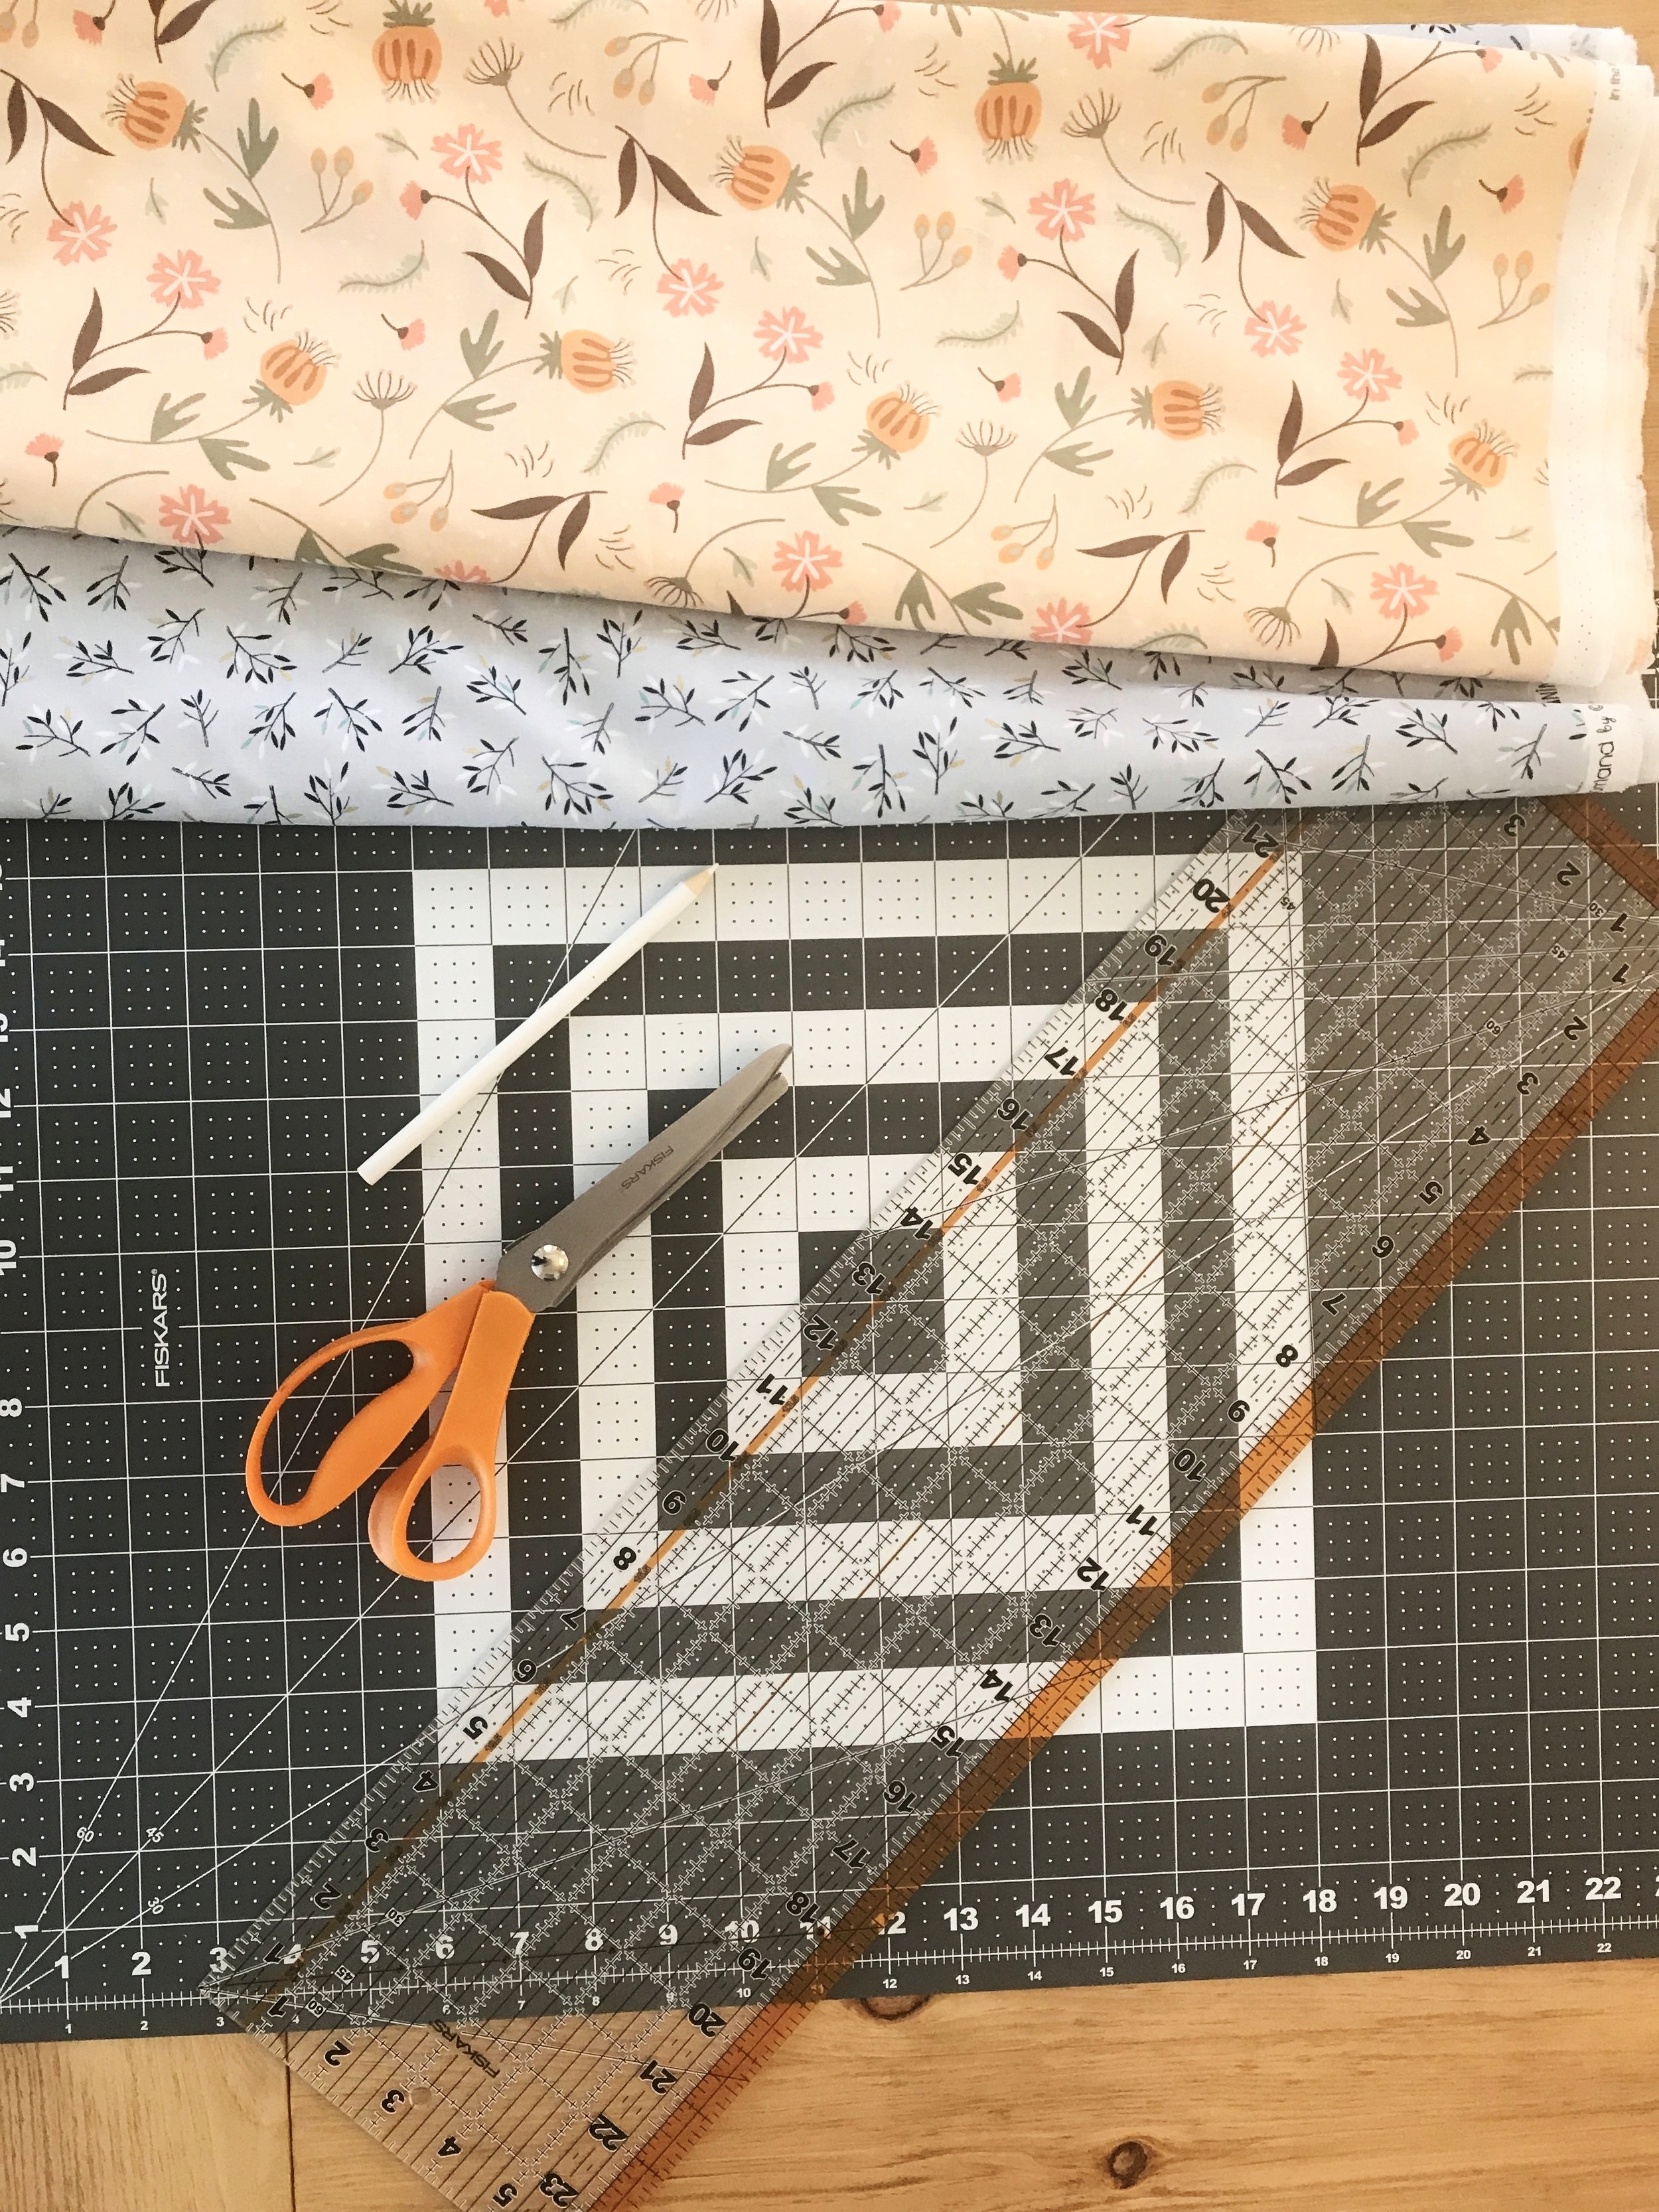
2 yards of Fabric, Pinking Shears, Large clear ruler, Self Healing Mat, pencil or fabric chalk pencil
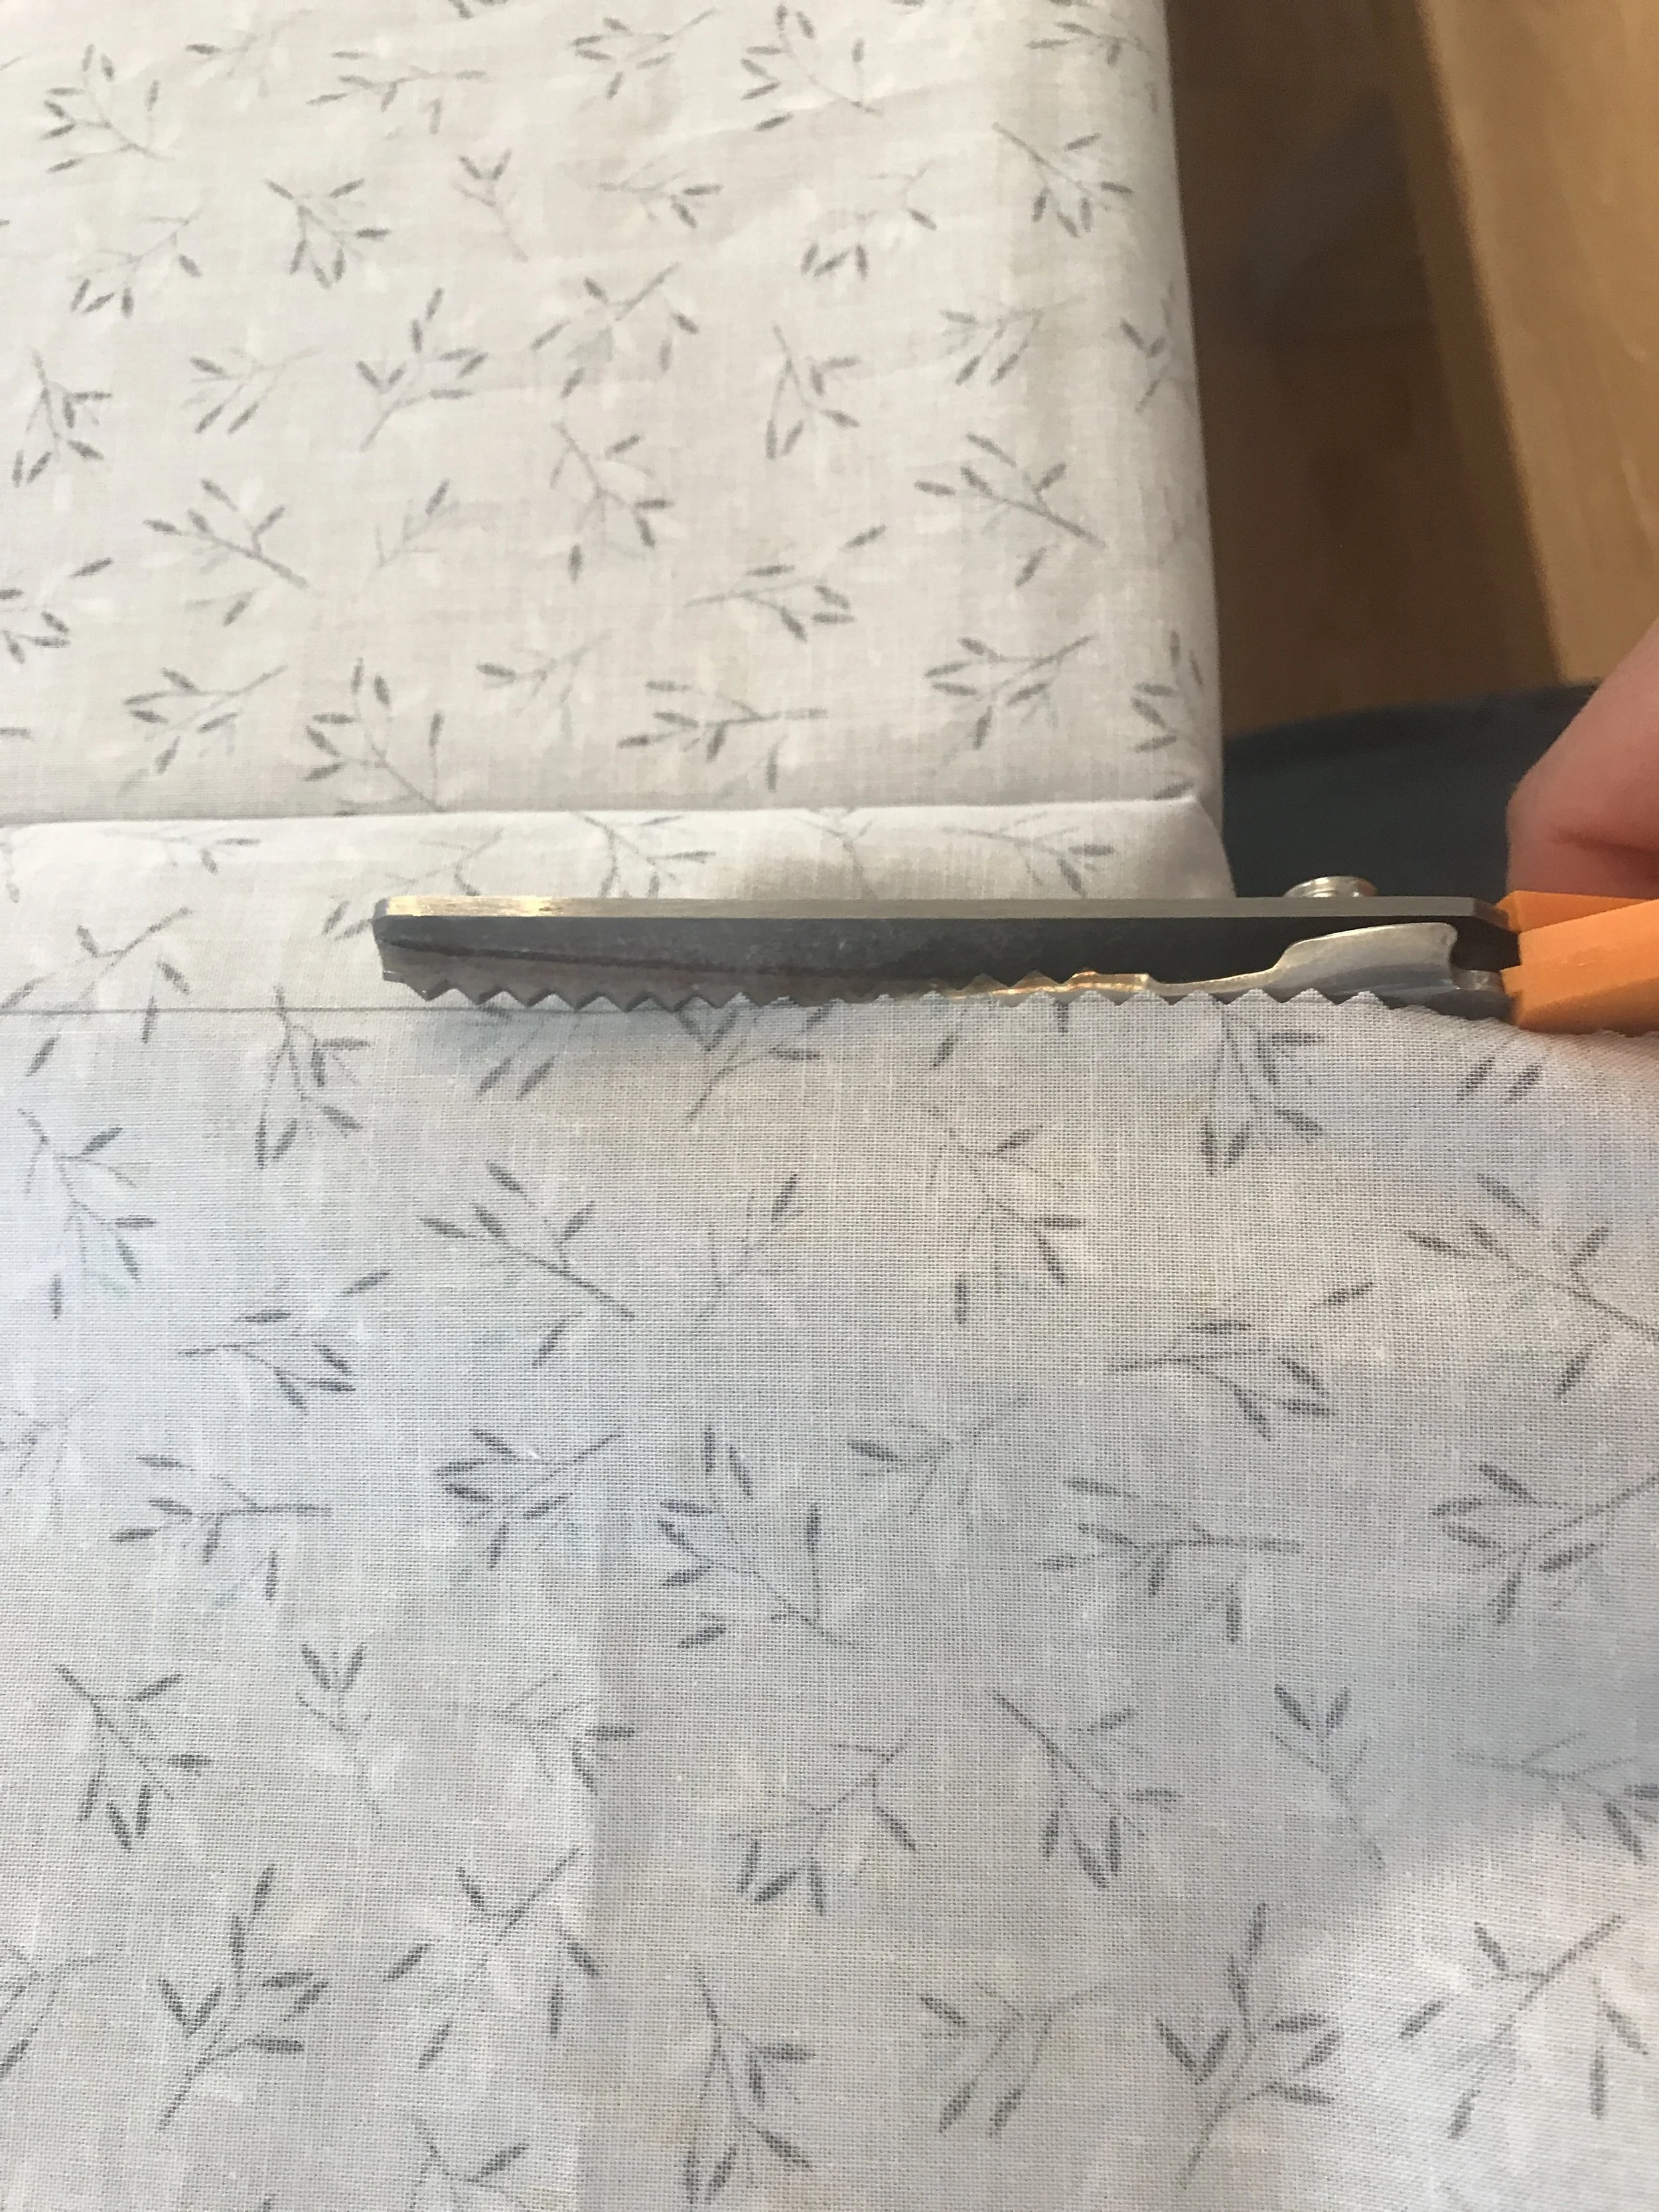
Use the Pinking Shears to take off the edges, this cleans them up and makes it easier to measure.
Next, take your ruler and measure, keep in mind that the pinking sheers will take off a tiny bit, we measured 20x20 and were left with 19.5.
Lastly, cut along the line.
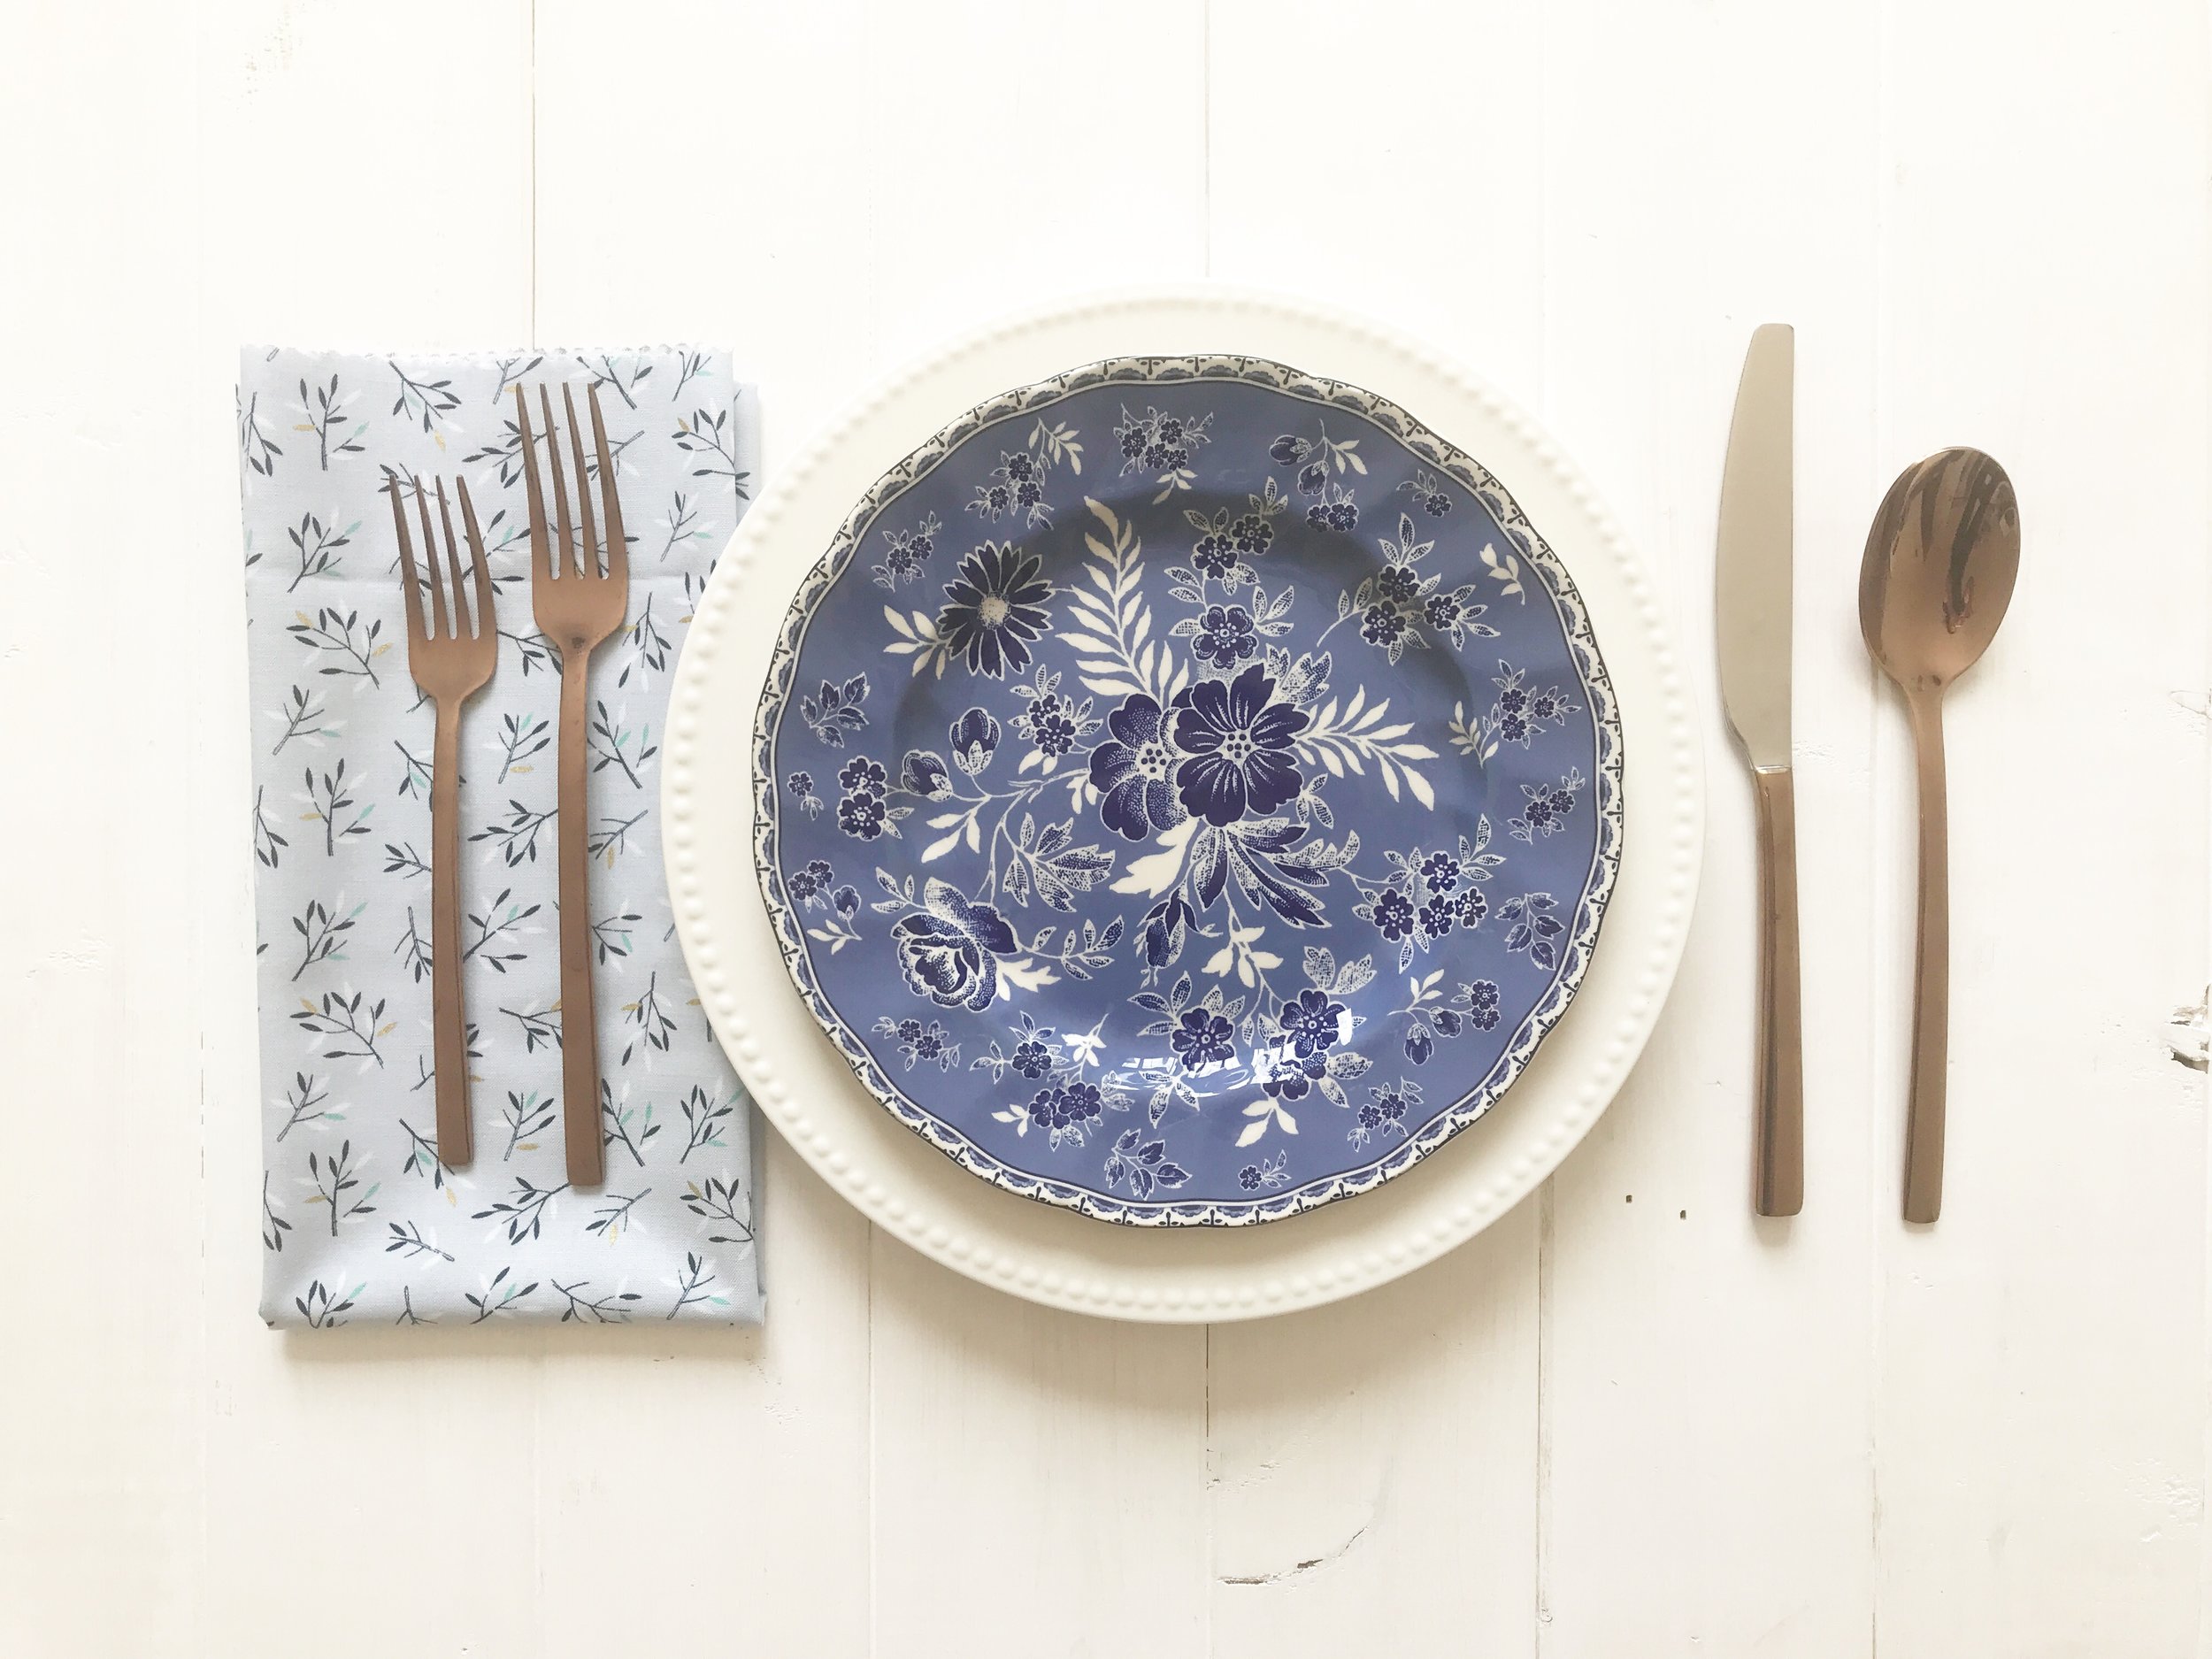
I love the way they turned out; they are simple and so pretty with the textured edge.
We made them bigger to allow for any shrinkage, and because I prefer them on the bigger side. It's easier to style them this way. I typically purchased the smaller ones because they are cheaper.
Under $3.00 per napkin means I can make a new set every month!
I can't wait to show you guys how I'm setting the table for Mother's Day Brunch. Give this easy DIY a try and let me know what you think, or If you have any tips or tricks that I missed.
- Megan xo
Shop This Post
*The widget below contains affiliate links*