
Rub & BUFF Tutorial and Review
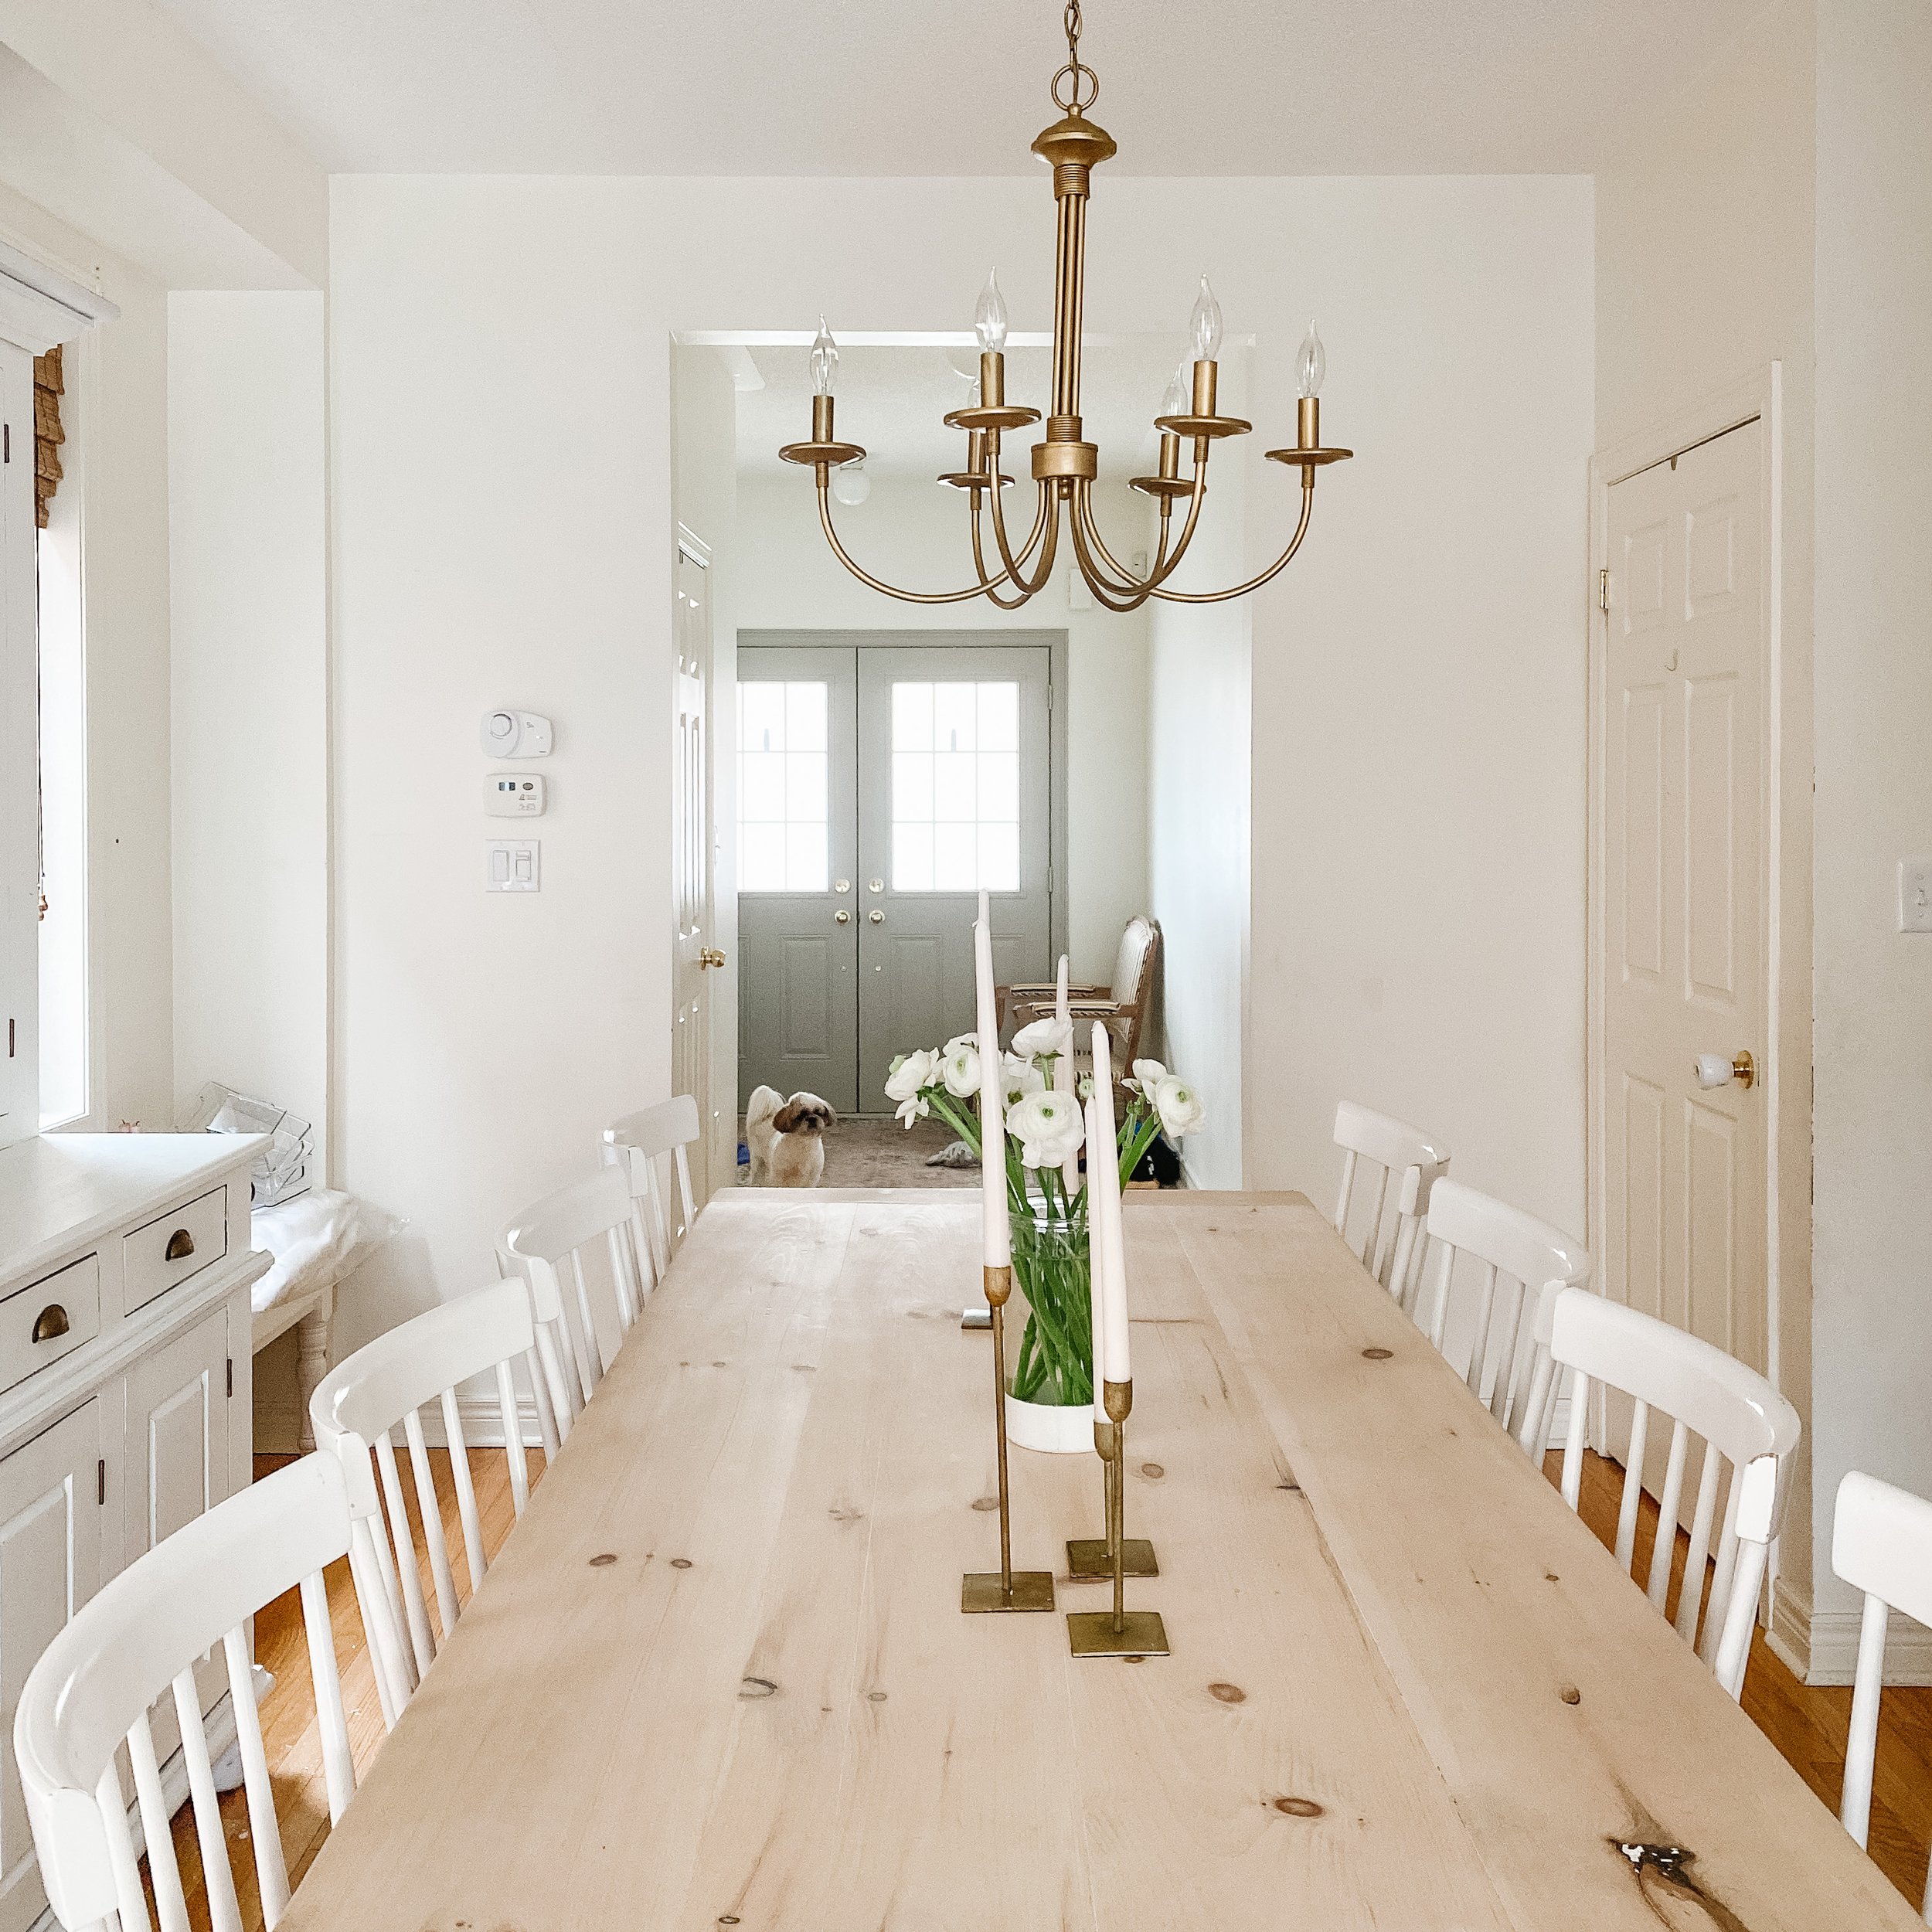
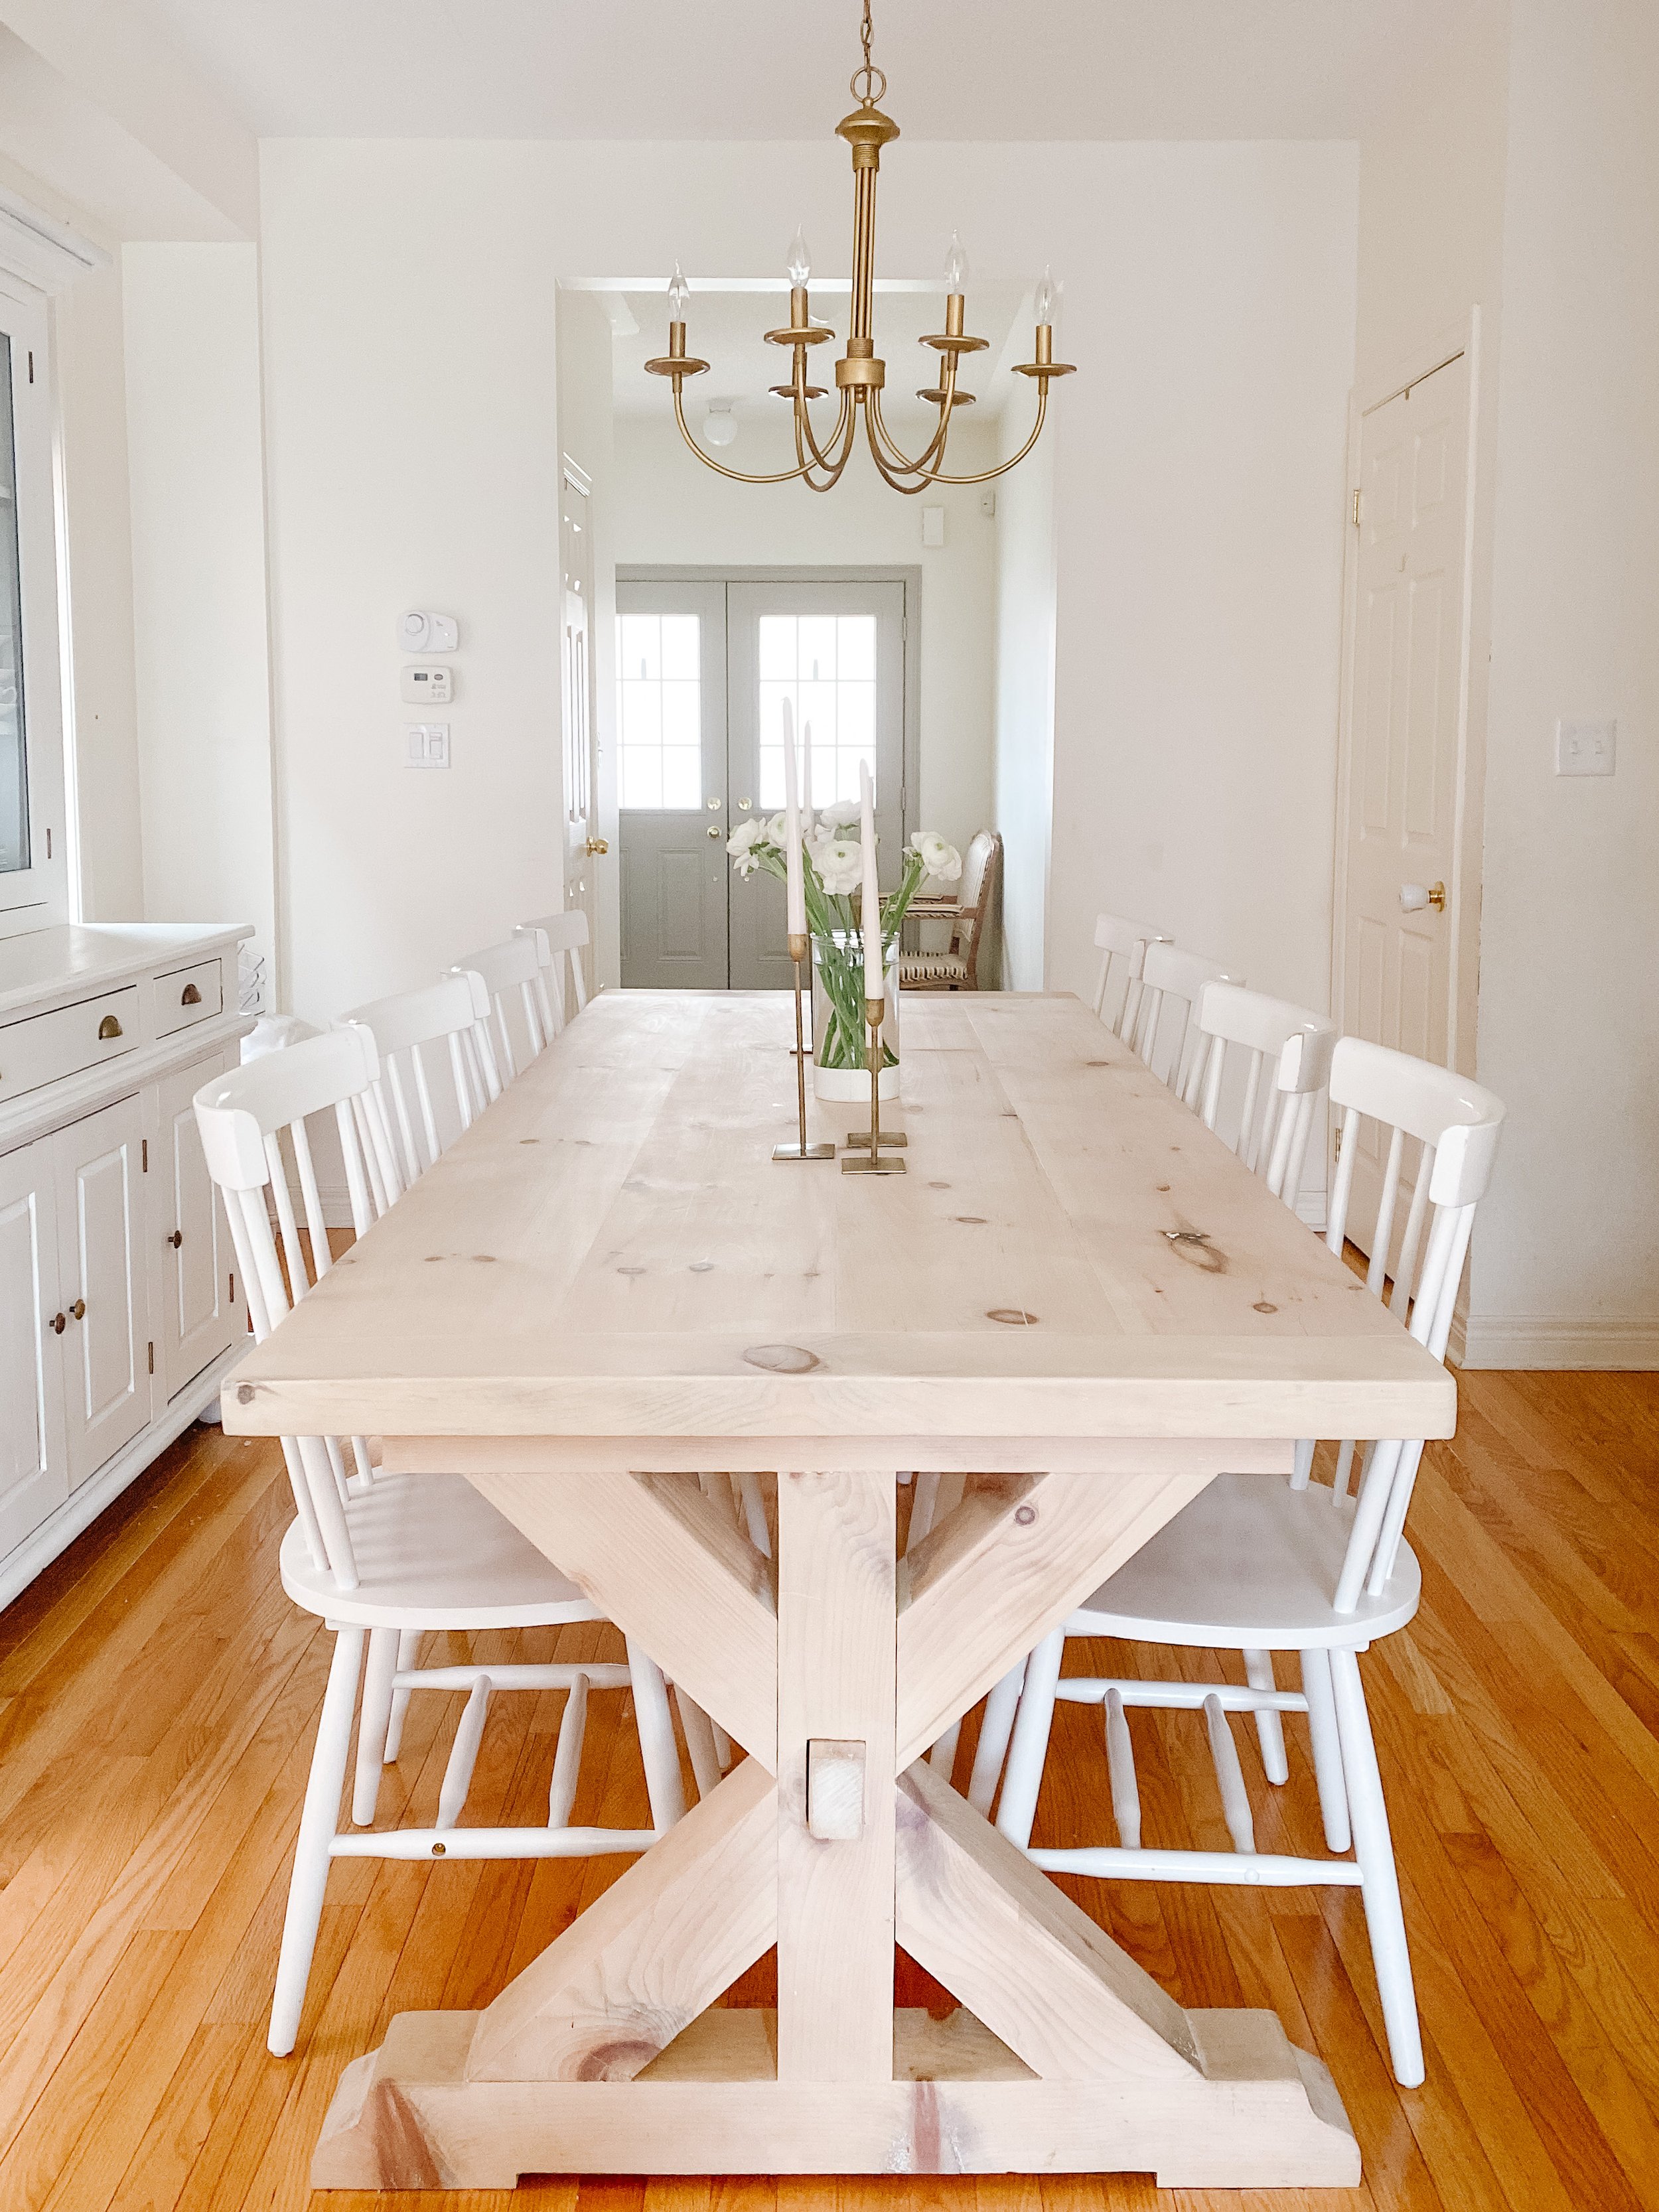
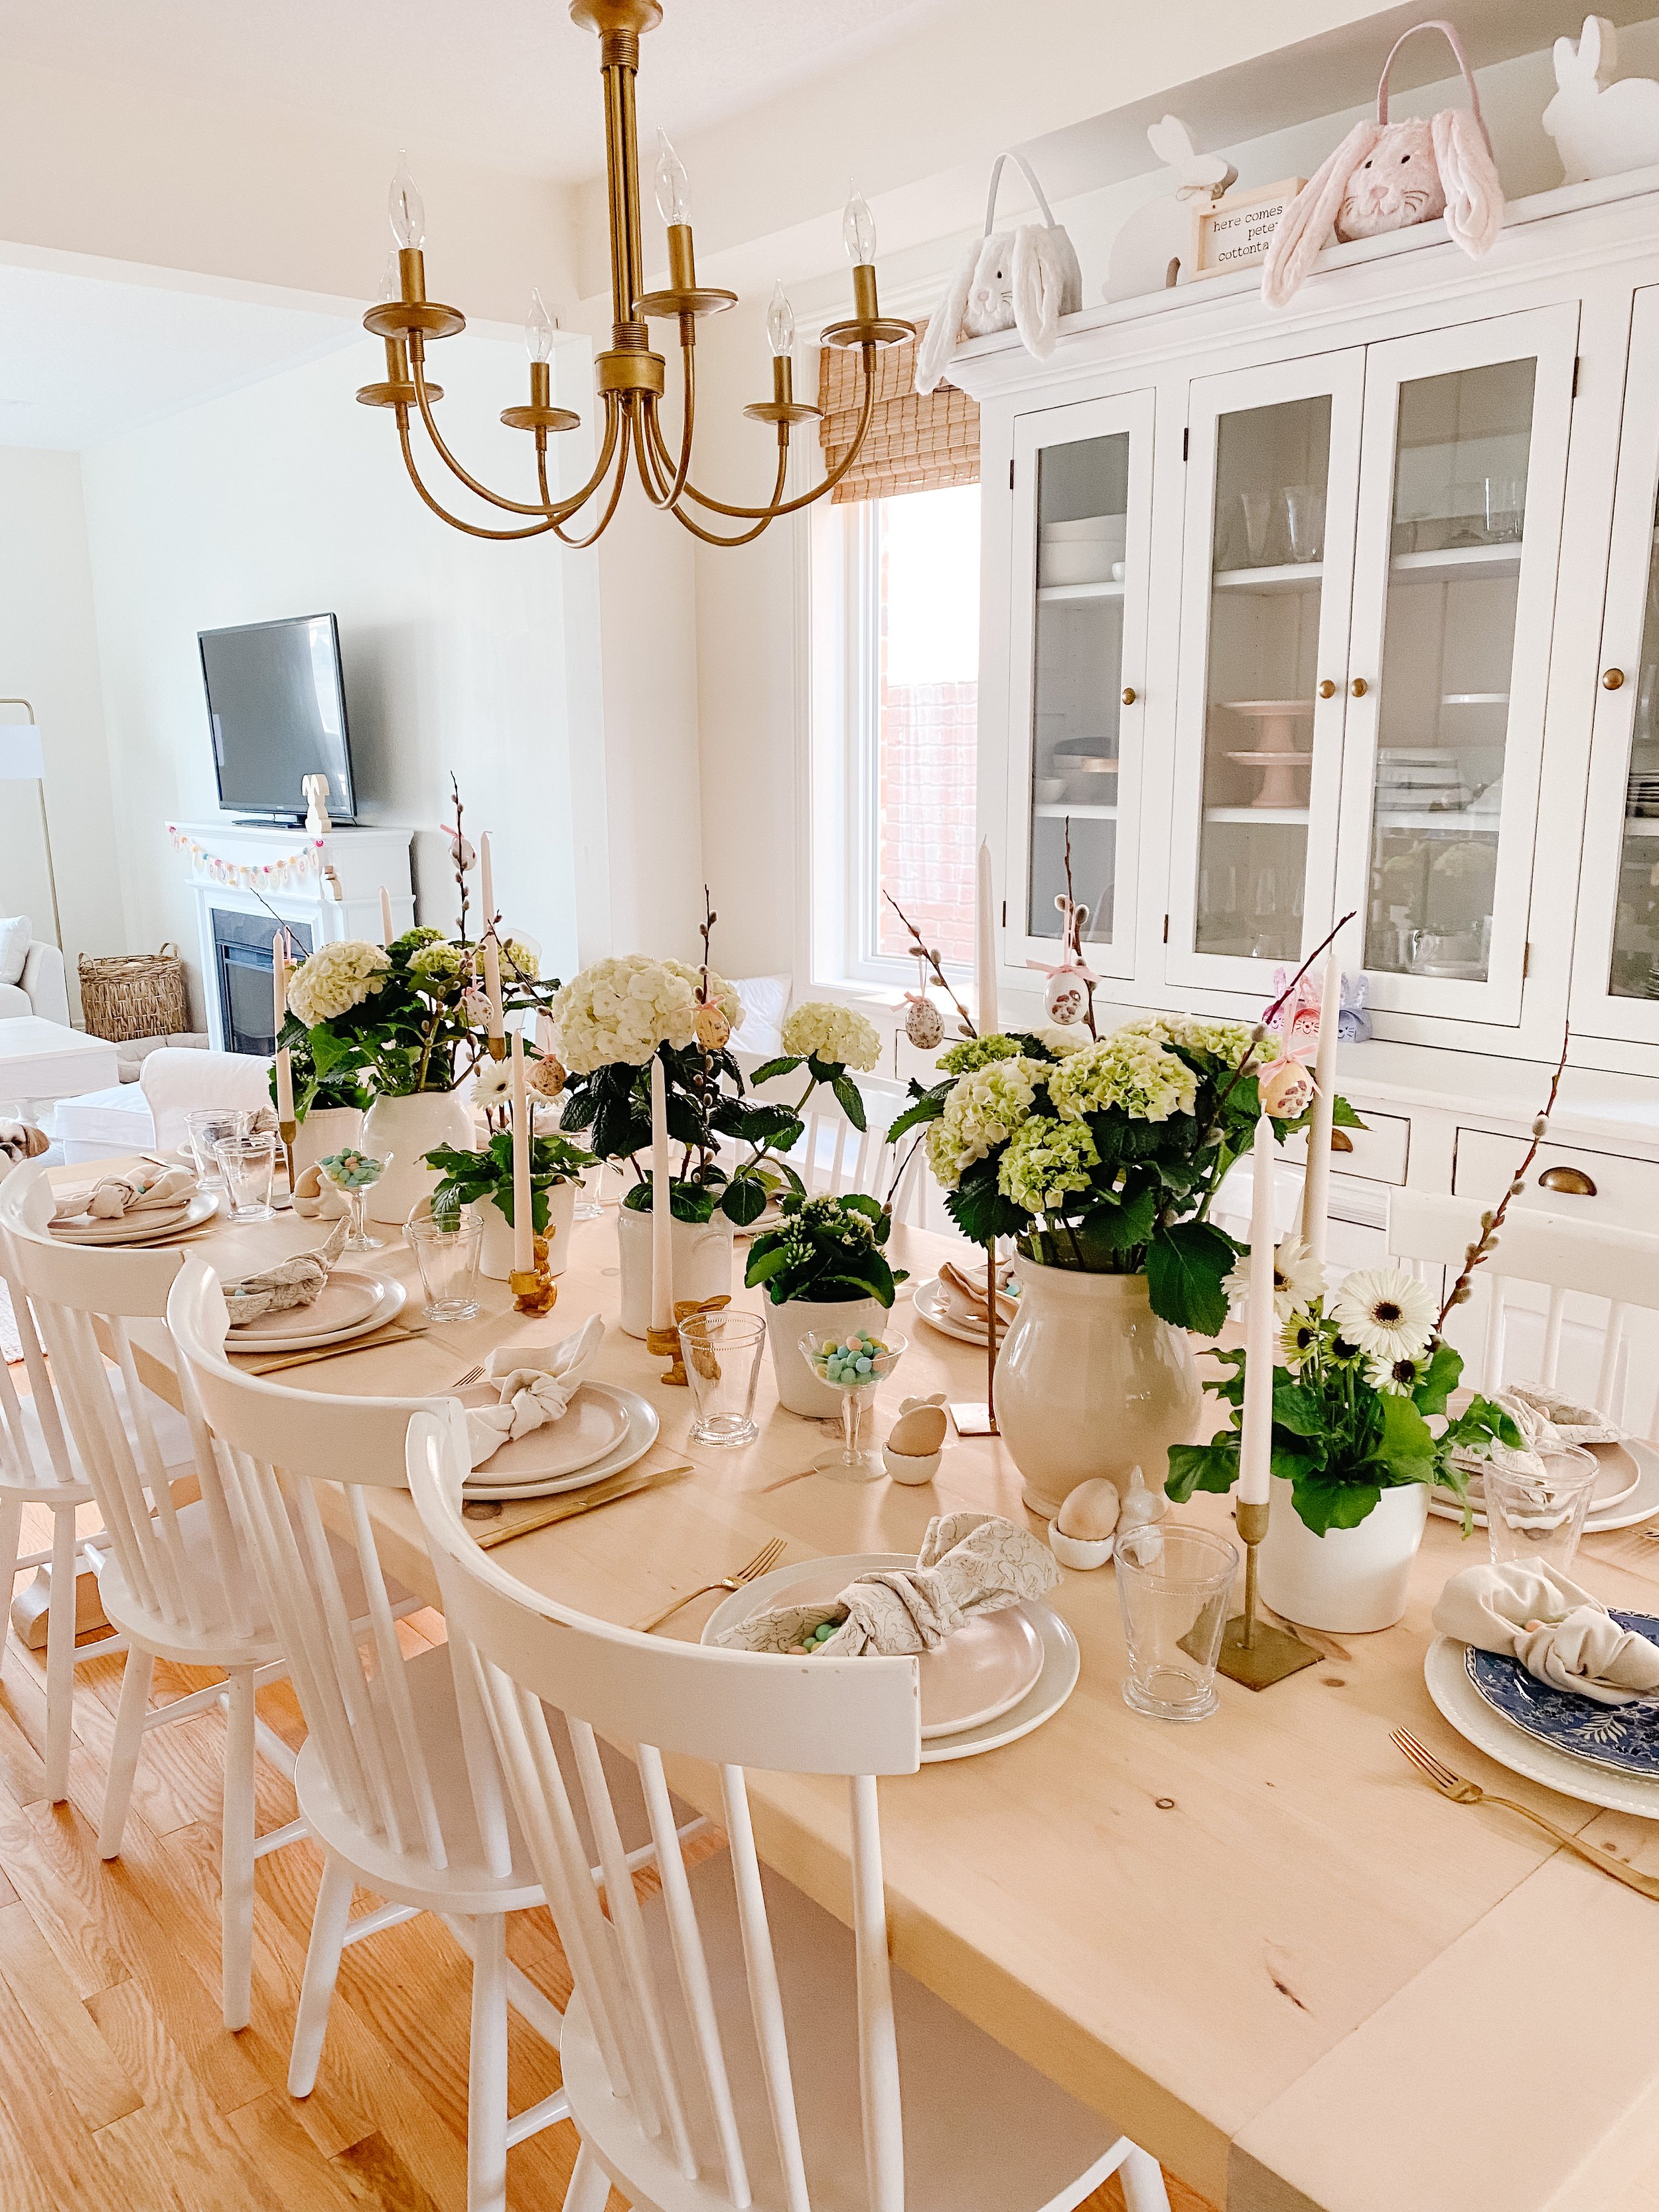
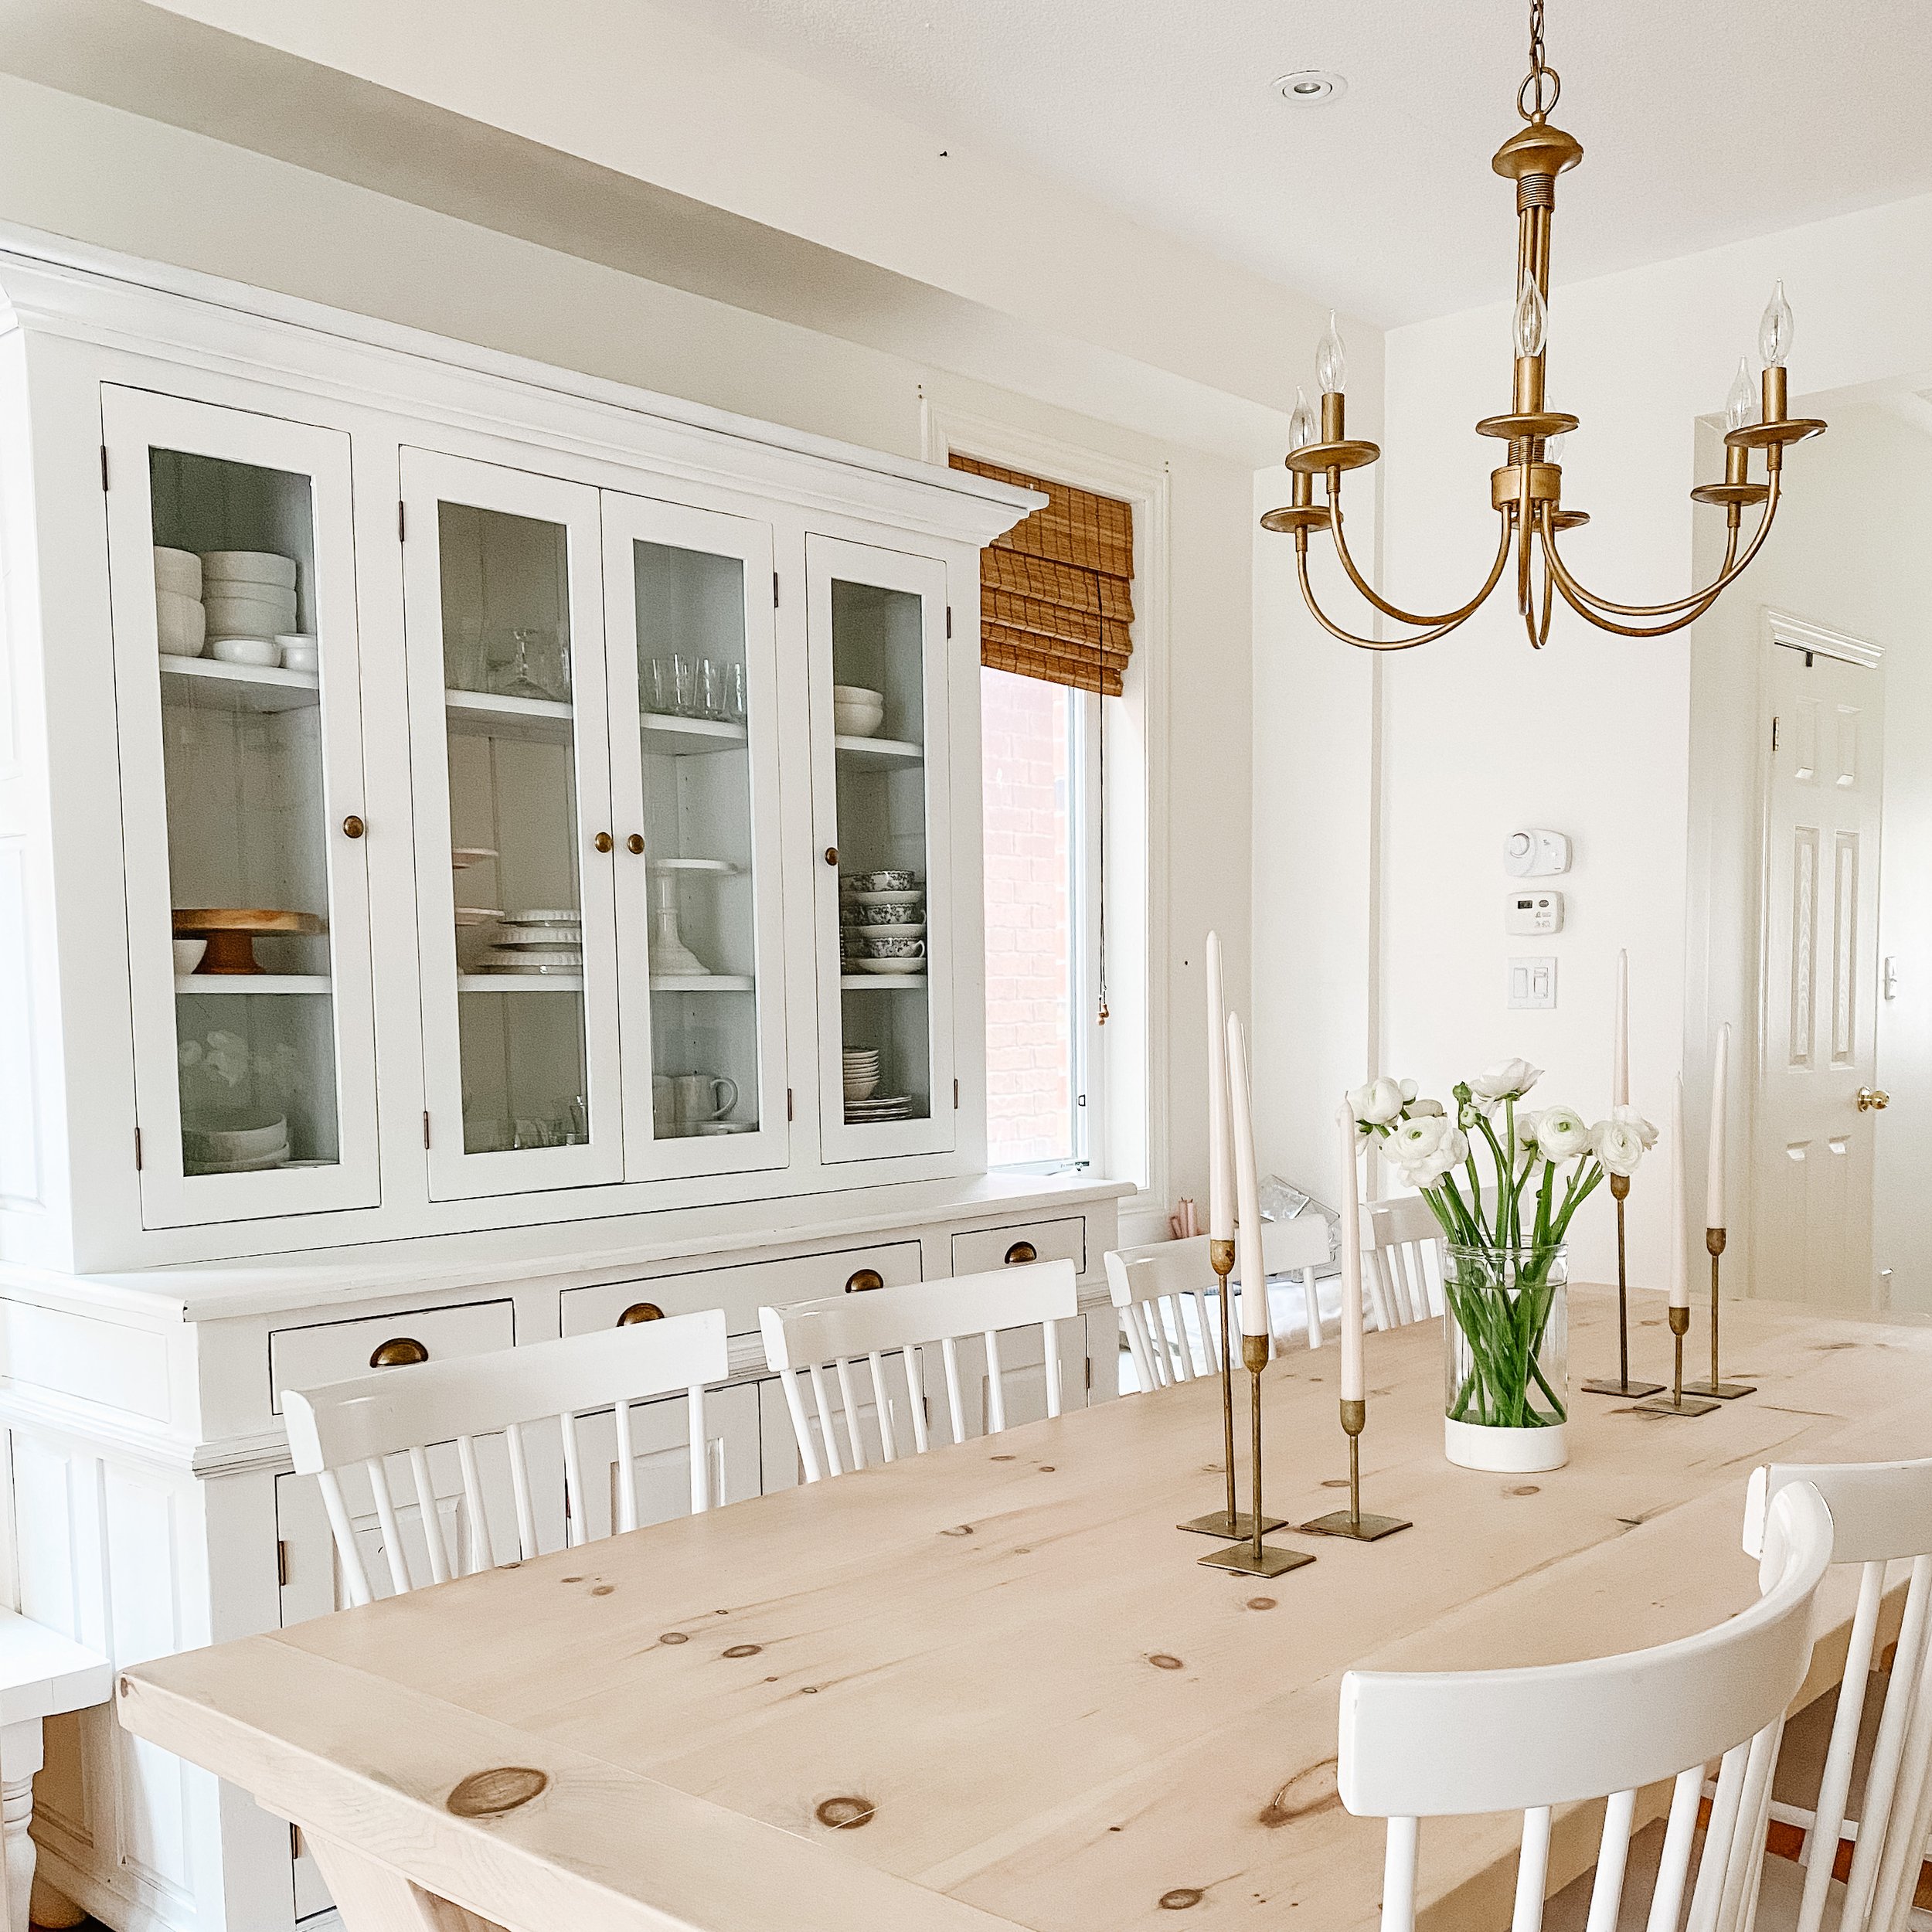
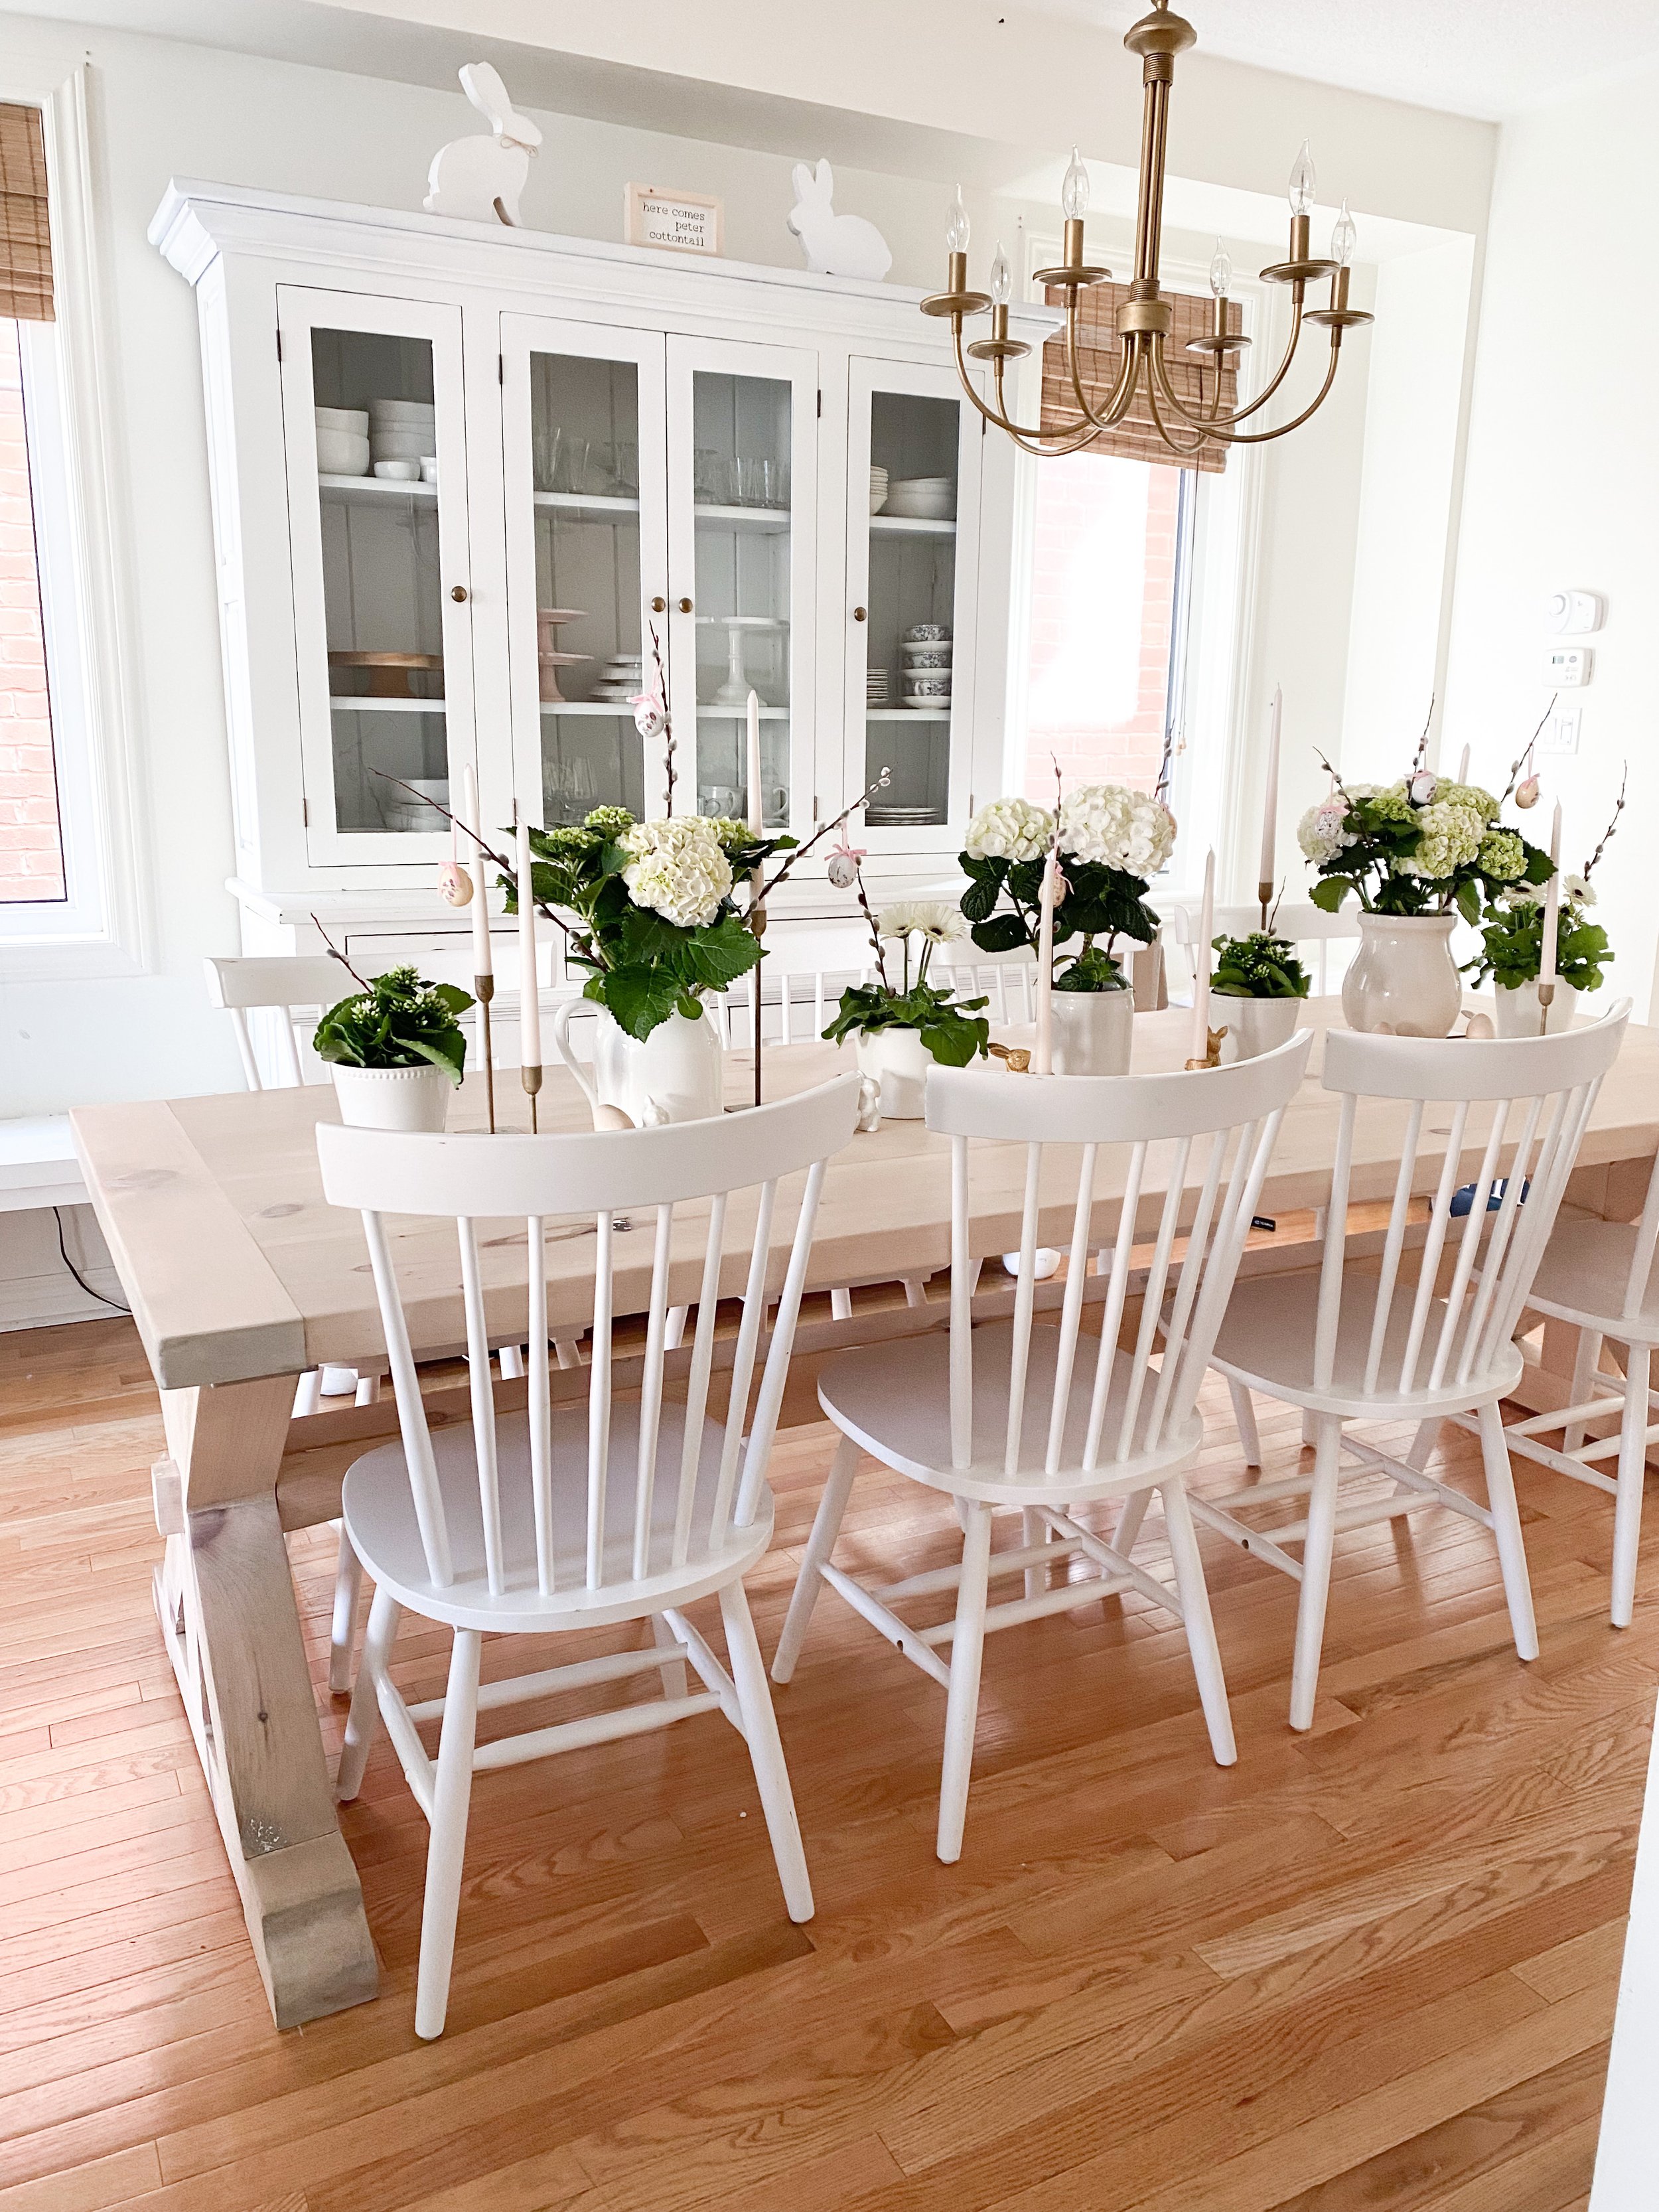
When I get the twitch to switch, it’s inevitably going to happen. I try to resist the urge. I’ll look through old pictures that I love of ways my rooms are set up, but once I get the idea in my head, there’s no getting it out. I have gotten better about not settling. In the past, I would find something I liked, and it would be too expensive. I would try to find a cheaper option, end up keeping it for a little while, then selling it, get another more affordable option etc. etc. and finally end up with the choice I wanted in the first place. I’ve gotten better at resisting the urge to buy things to make me happy at the moment, even though I know they won’t suit me in the long run. I’ve wanted a gold chandelier for the last year or so, and I could not find one that I liked as much as my current one. A few of them came pretty close, but ultimately, the price is what Drew me back.
I’ve seen a few of my blogger friends upcycling unique pieces using rub and buff, so I took to the Internet, did a little bit of research, googled what colour would be best for me and gave it a shot. Less than $20, a few hours later, I have the perfect gold chandelier for my dining room, and a bonus that I didn’t have to take this one down was one thing I wanted to avoid.


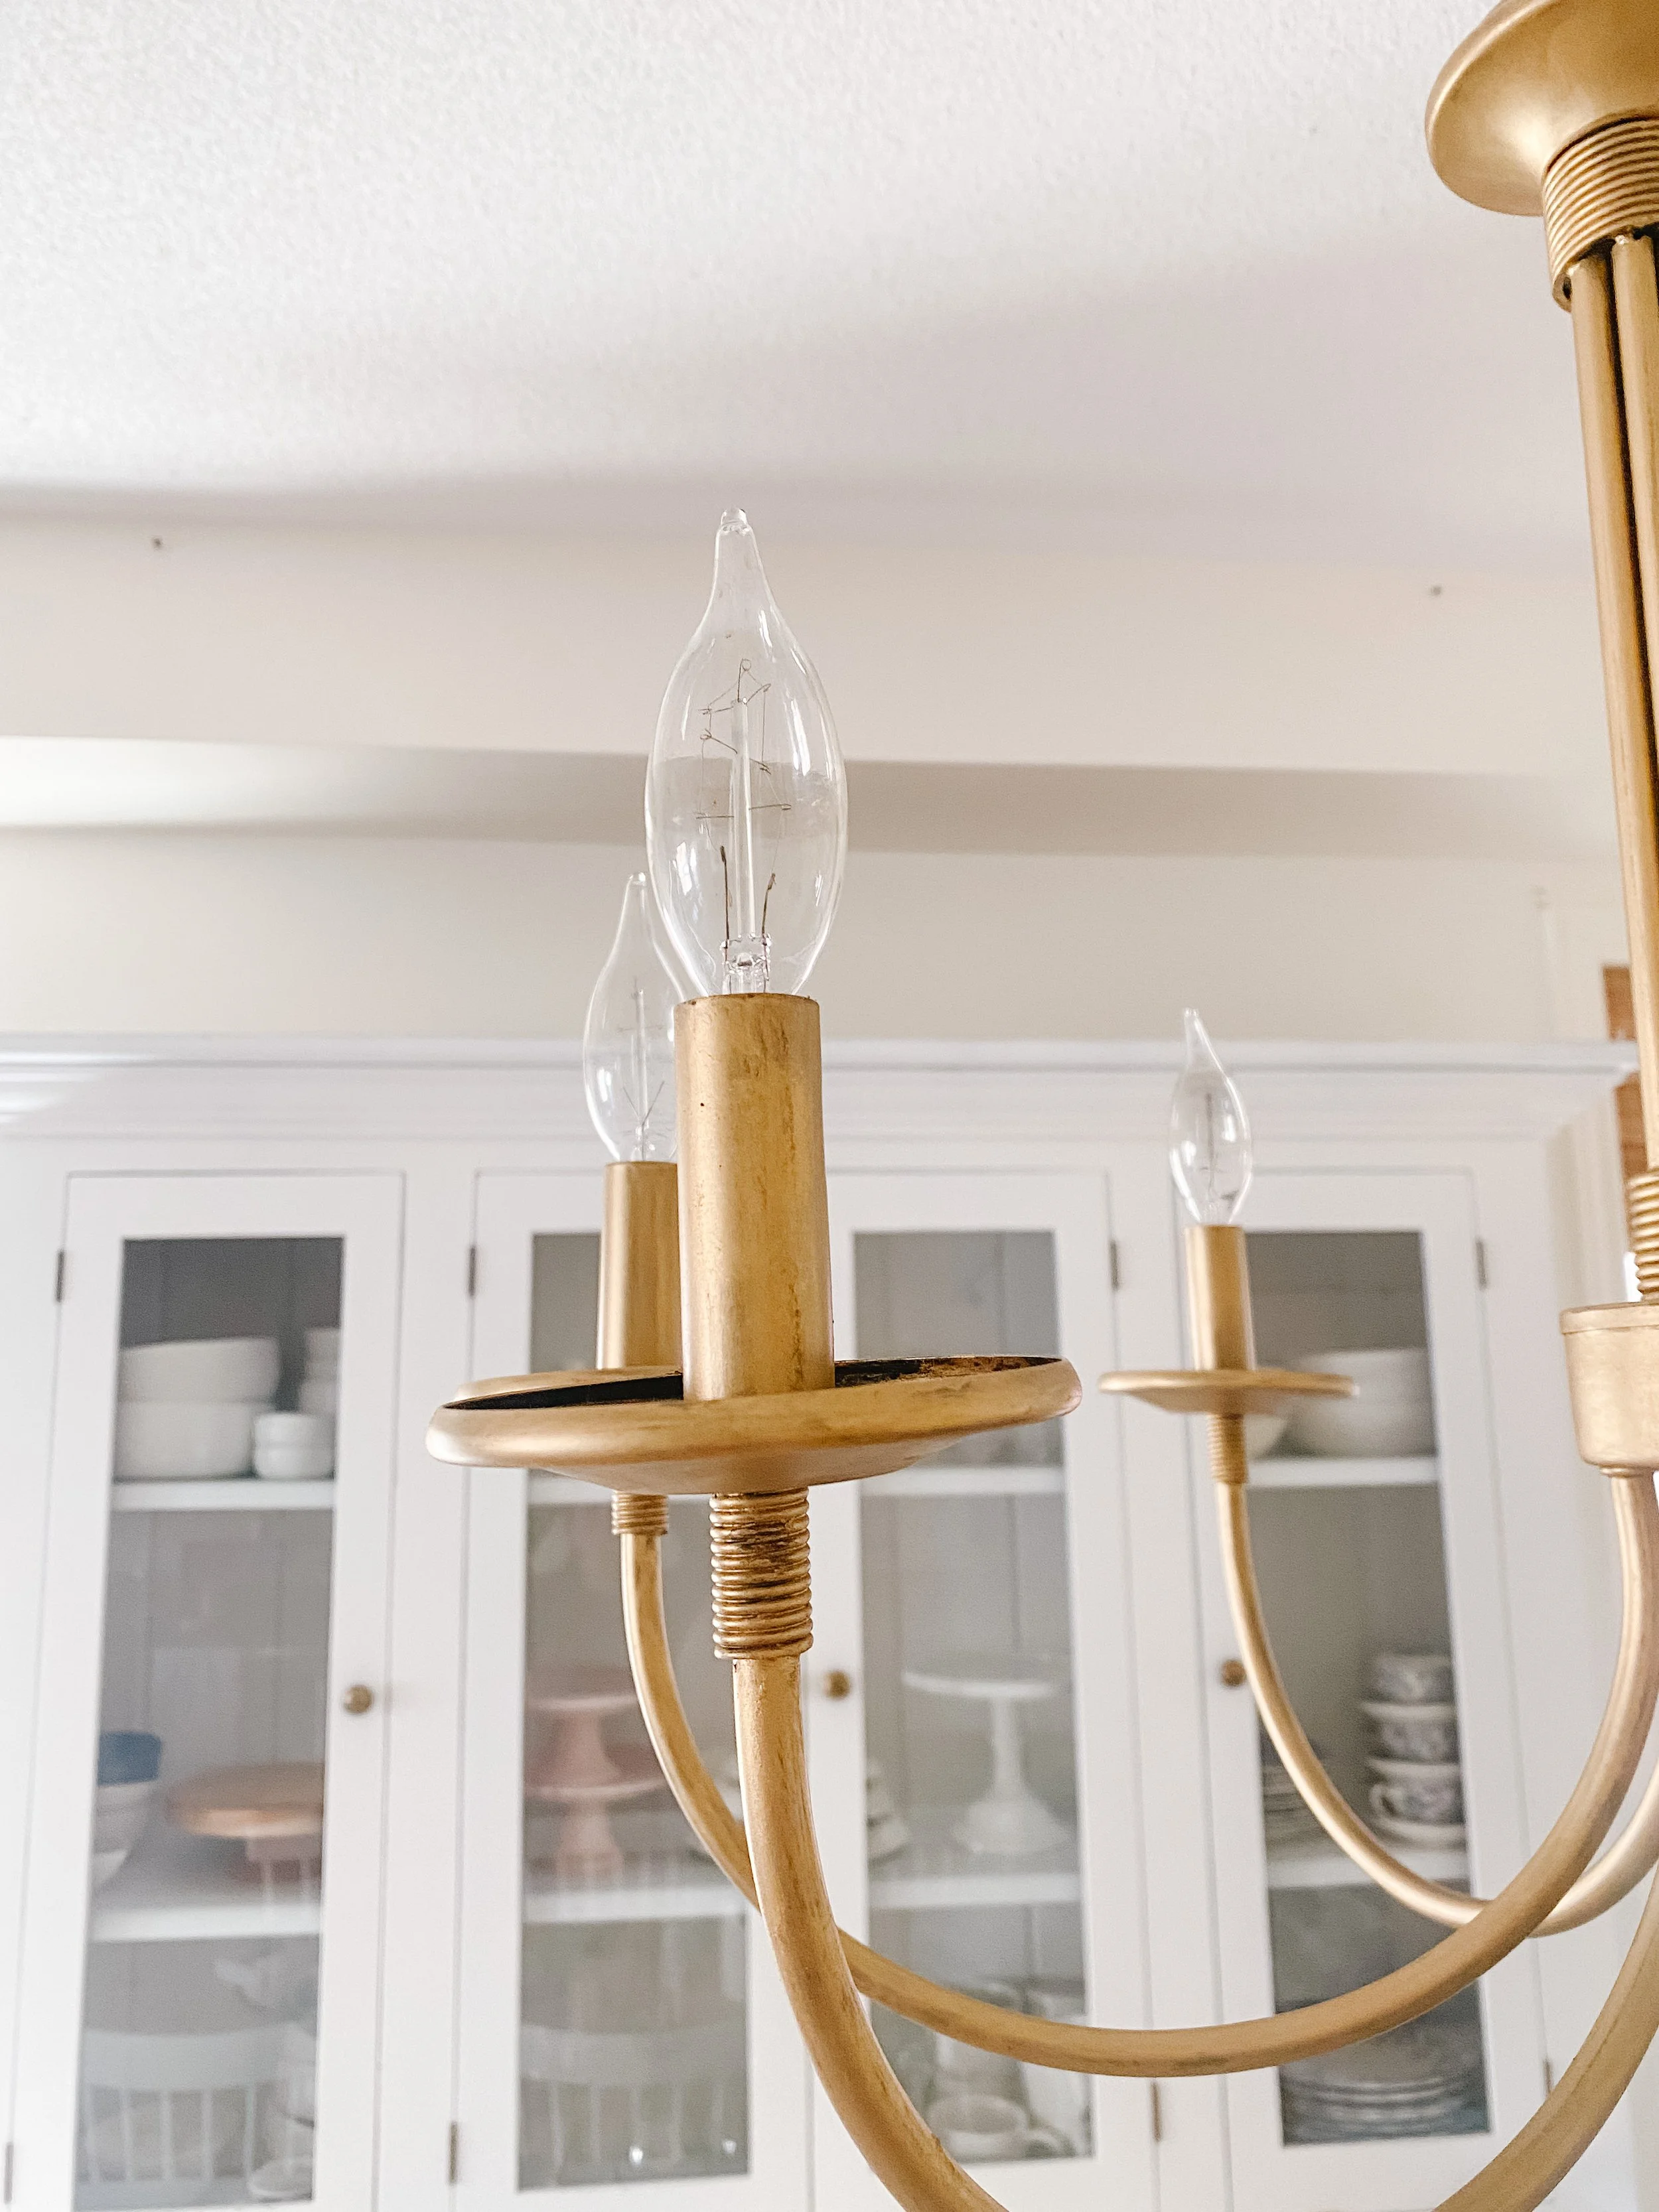
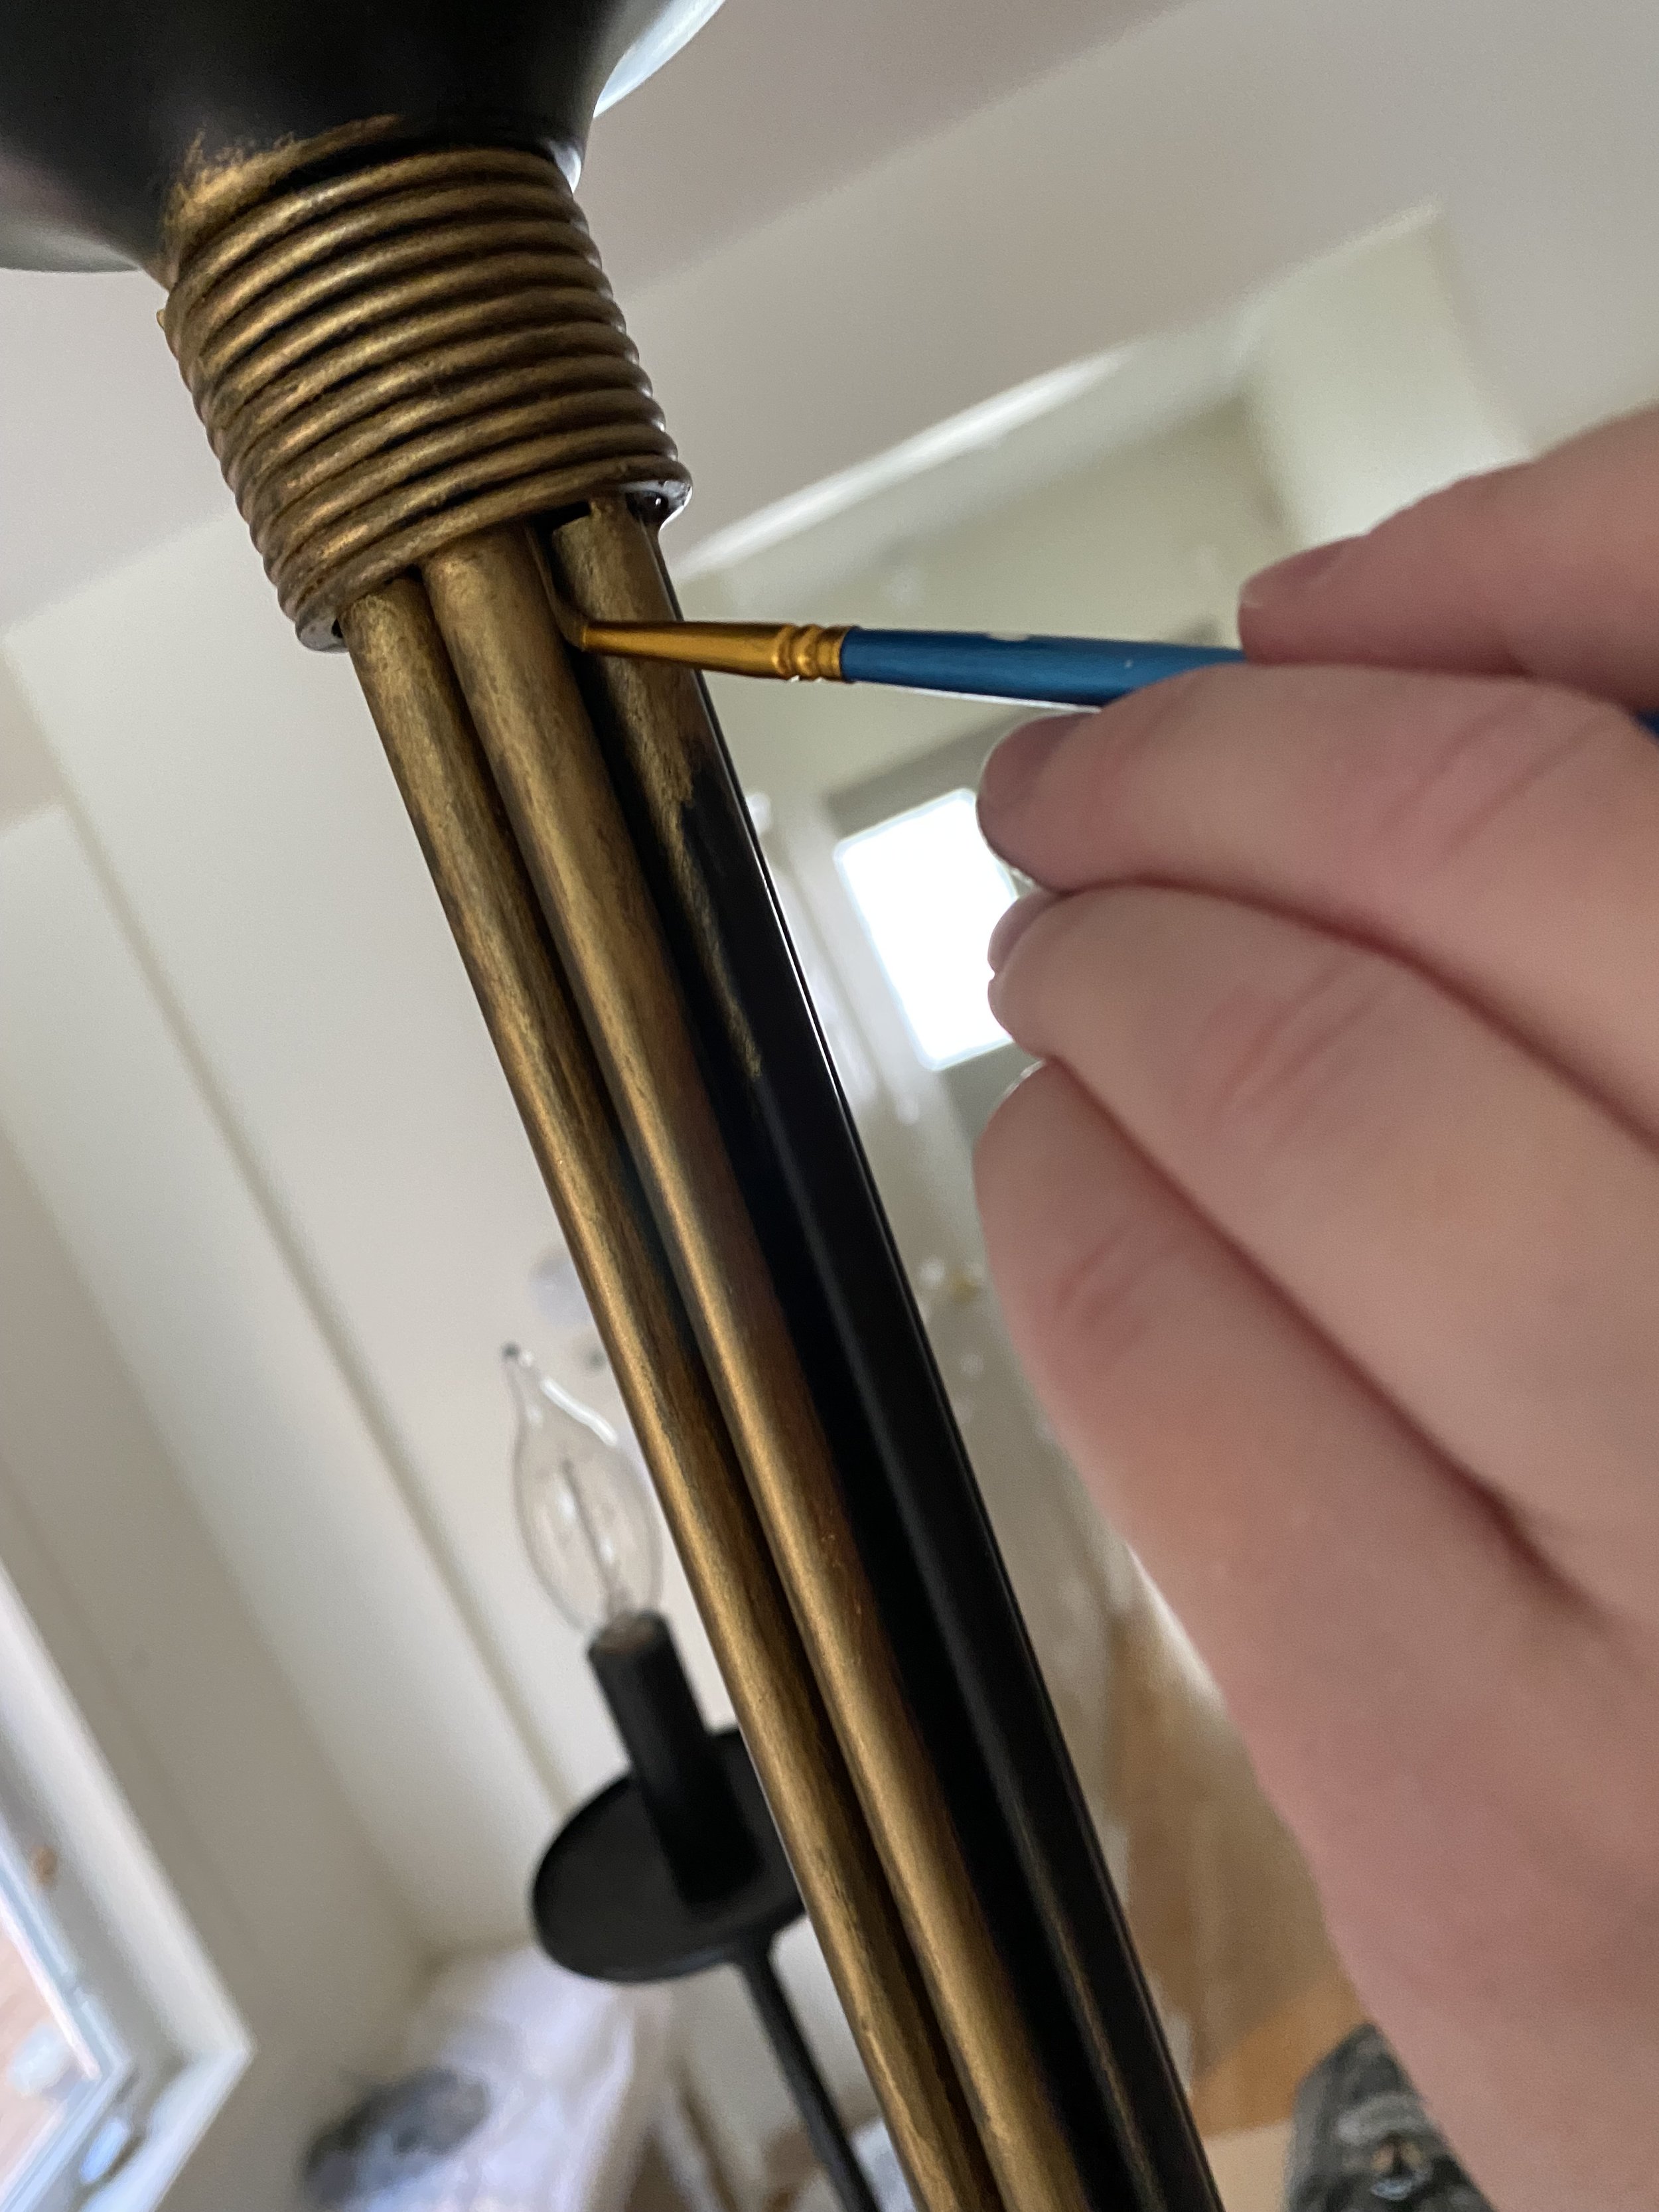
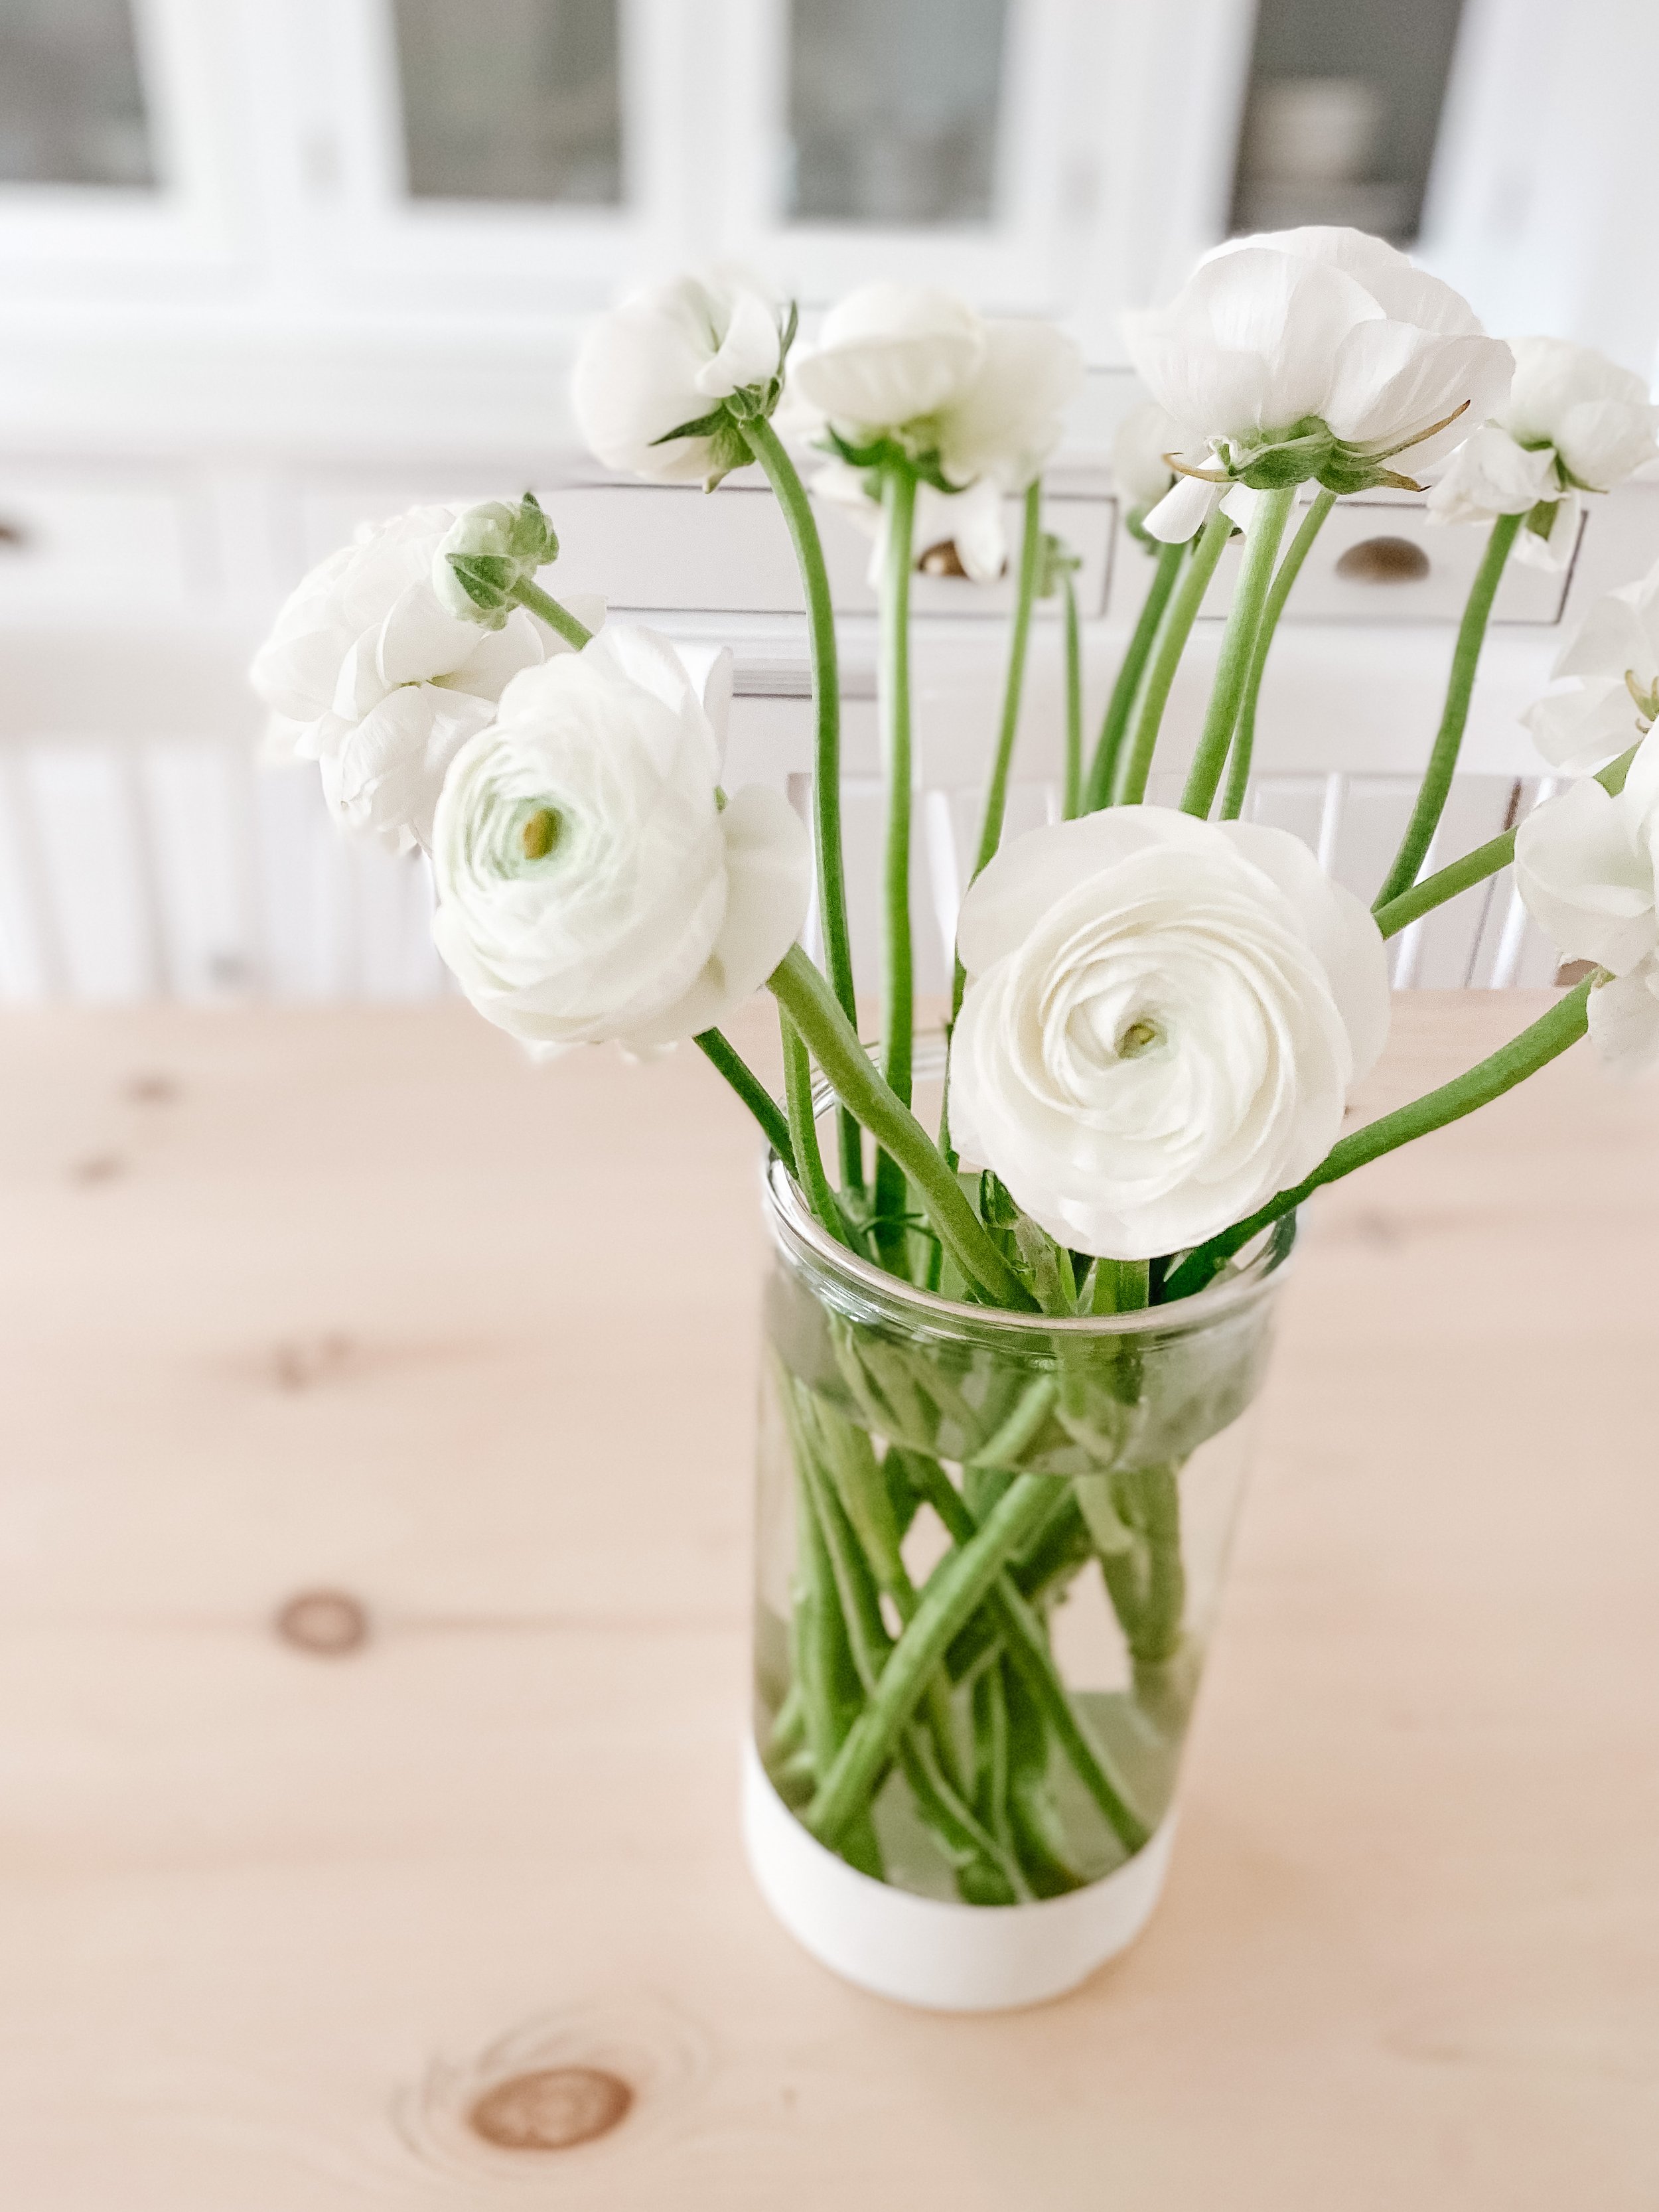
I love how it turned out, and so does my biggest critic LOL my mother. Here is a helpful resource Liz Marie Blog that ultimately helped me decide what colour I wanted to use. I went with gold leaf, and I think it was a perfect choice. It’s as easy as it sounds; you simply rub and then buff. Depending on the piece, there’s no preparation. I cleaned my chandelier to ensure that there was no just on it, but I probably didn’t need to because I buffed it anyways. I use my finger for most of the hard surfaces, and then for the intricate parts are used a brush.

The process is a little bit addictive. It’s so much fun to make all things new, so I went a little crazy and decided to do the knobs on my cabinet, some napkin rings that I bought from Amazon that I didn’t love, the colour of some candlesticks I played around with some glass and even tried it on a piece of wood.
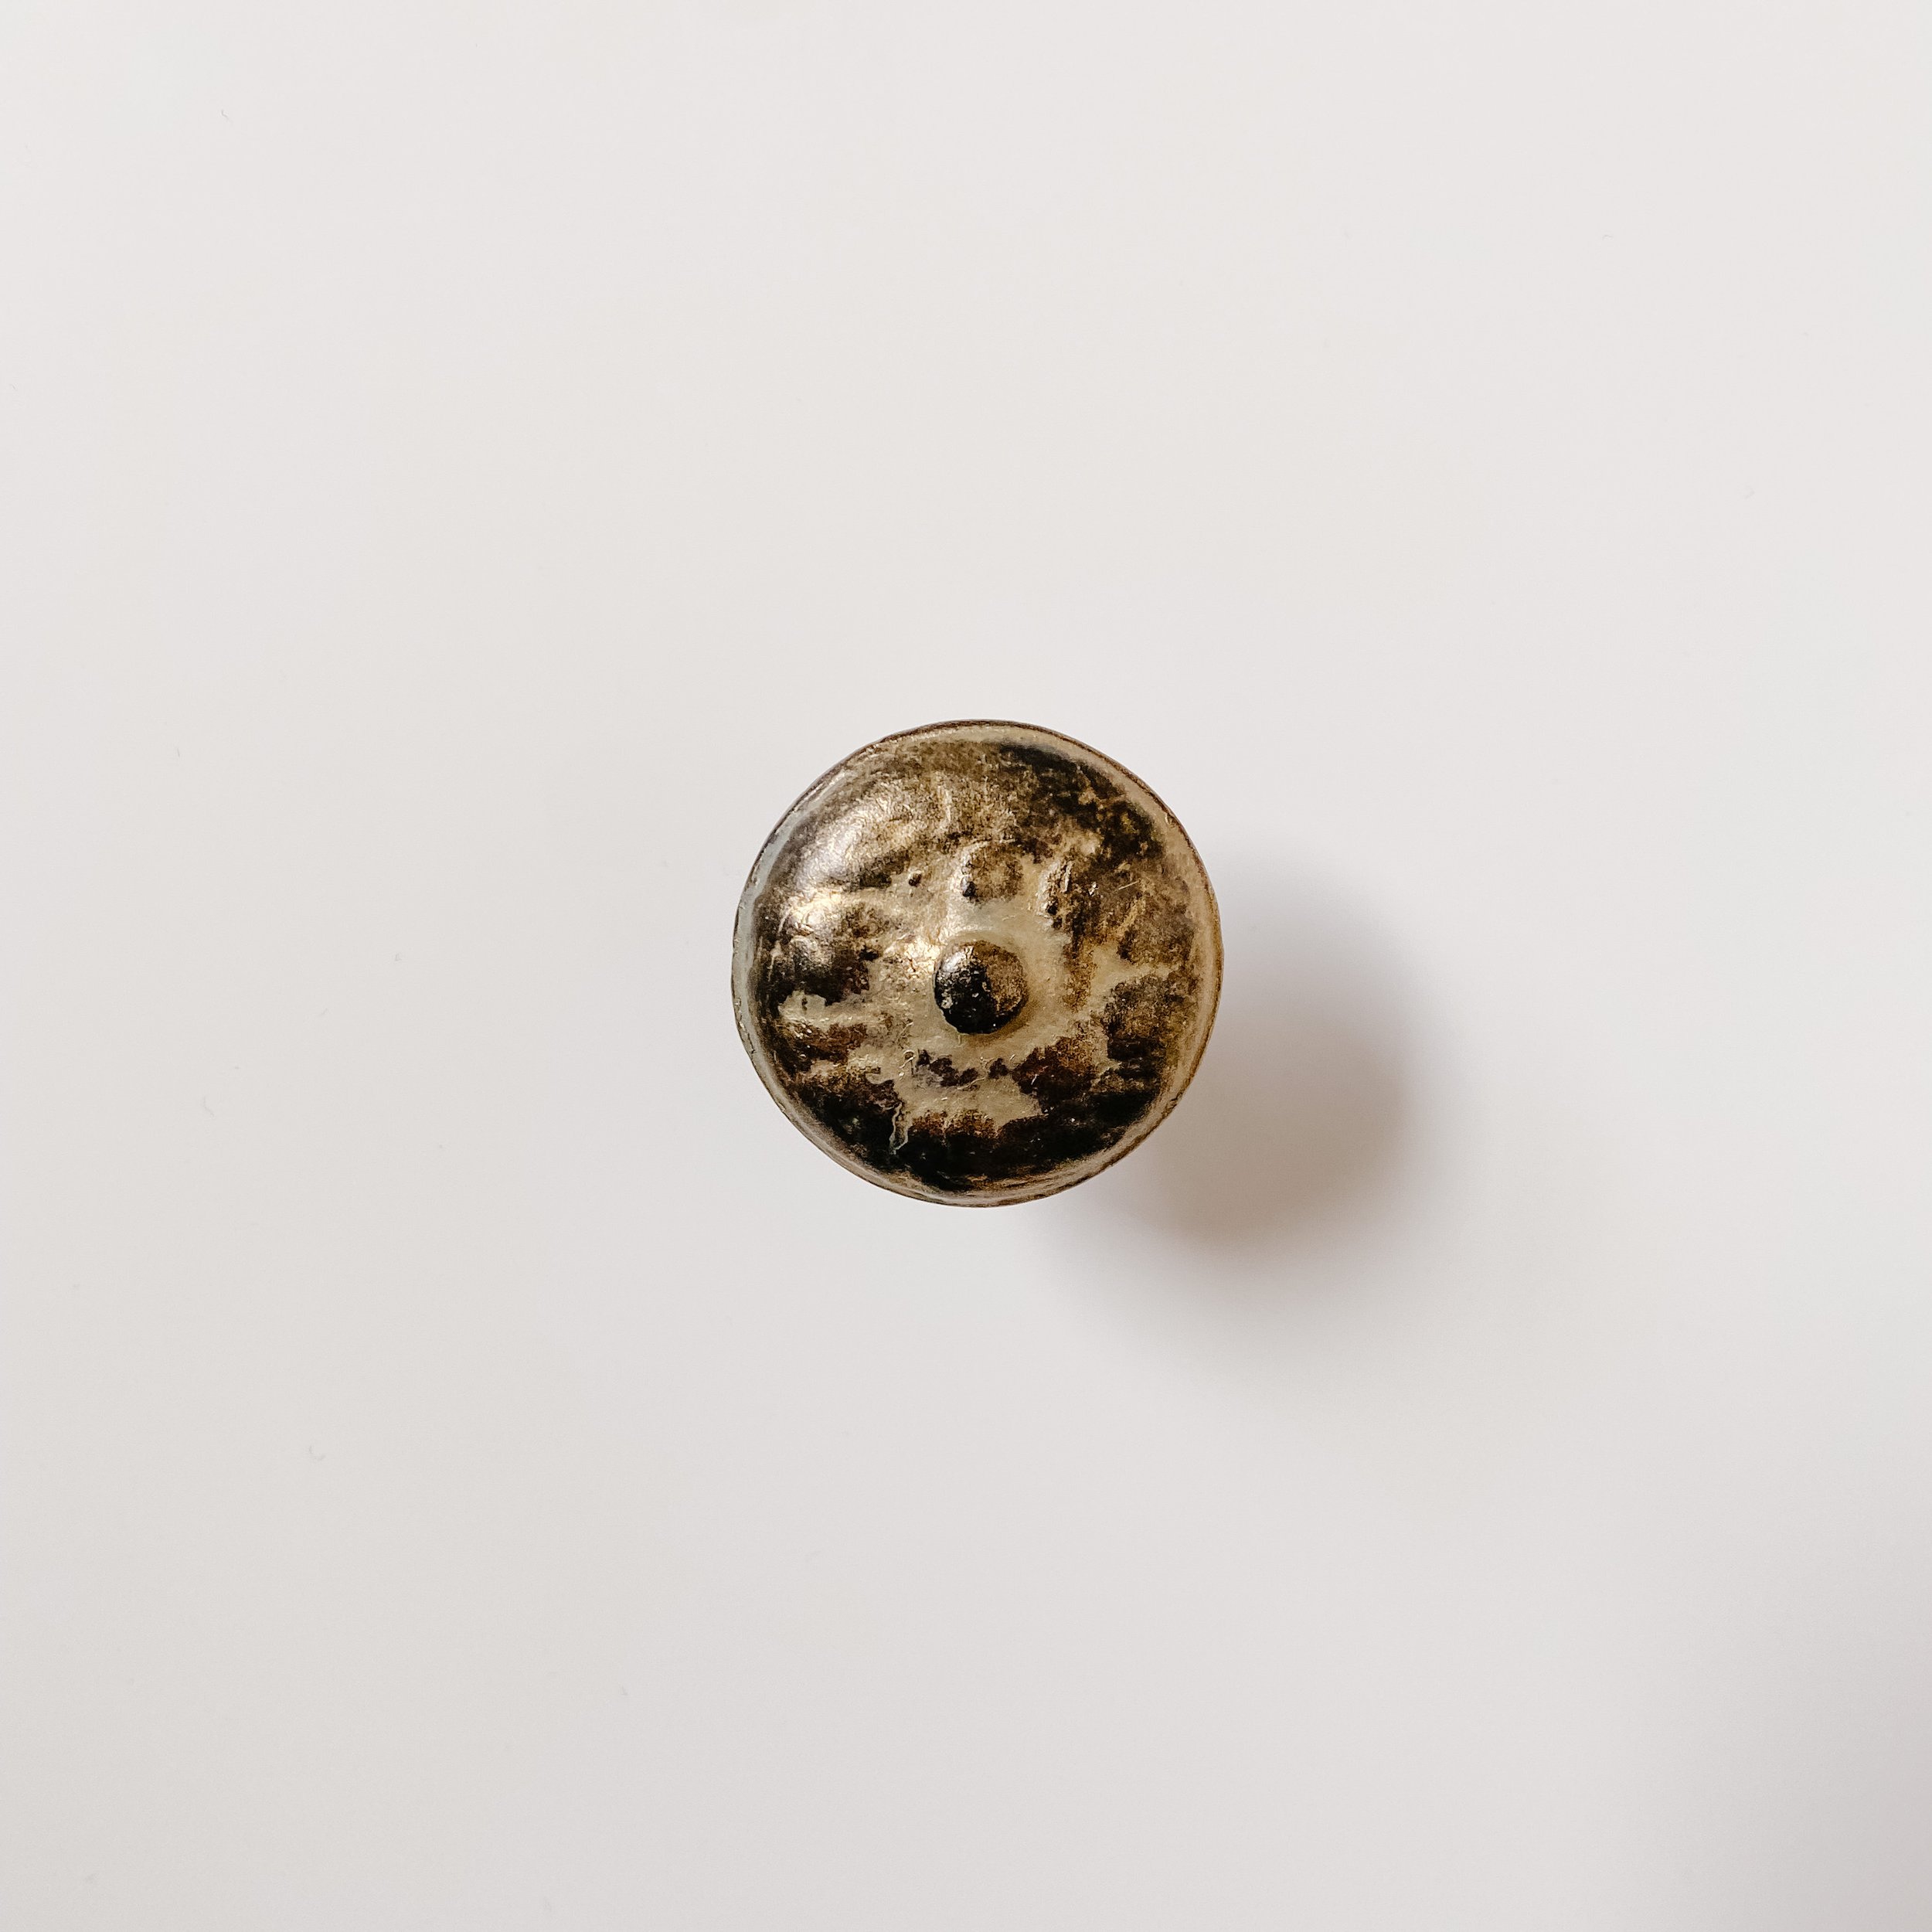

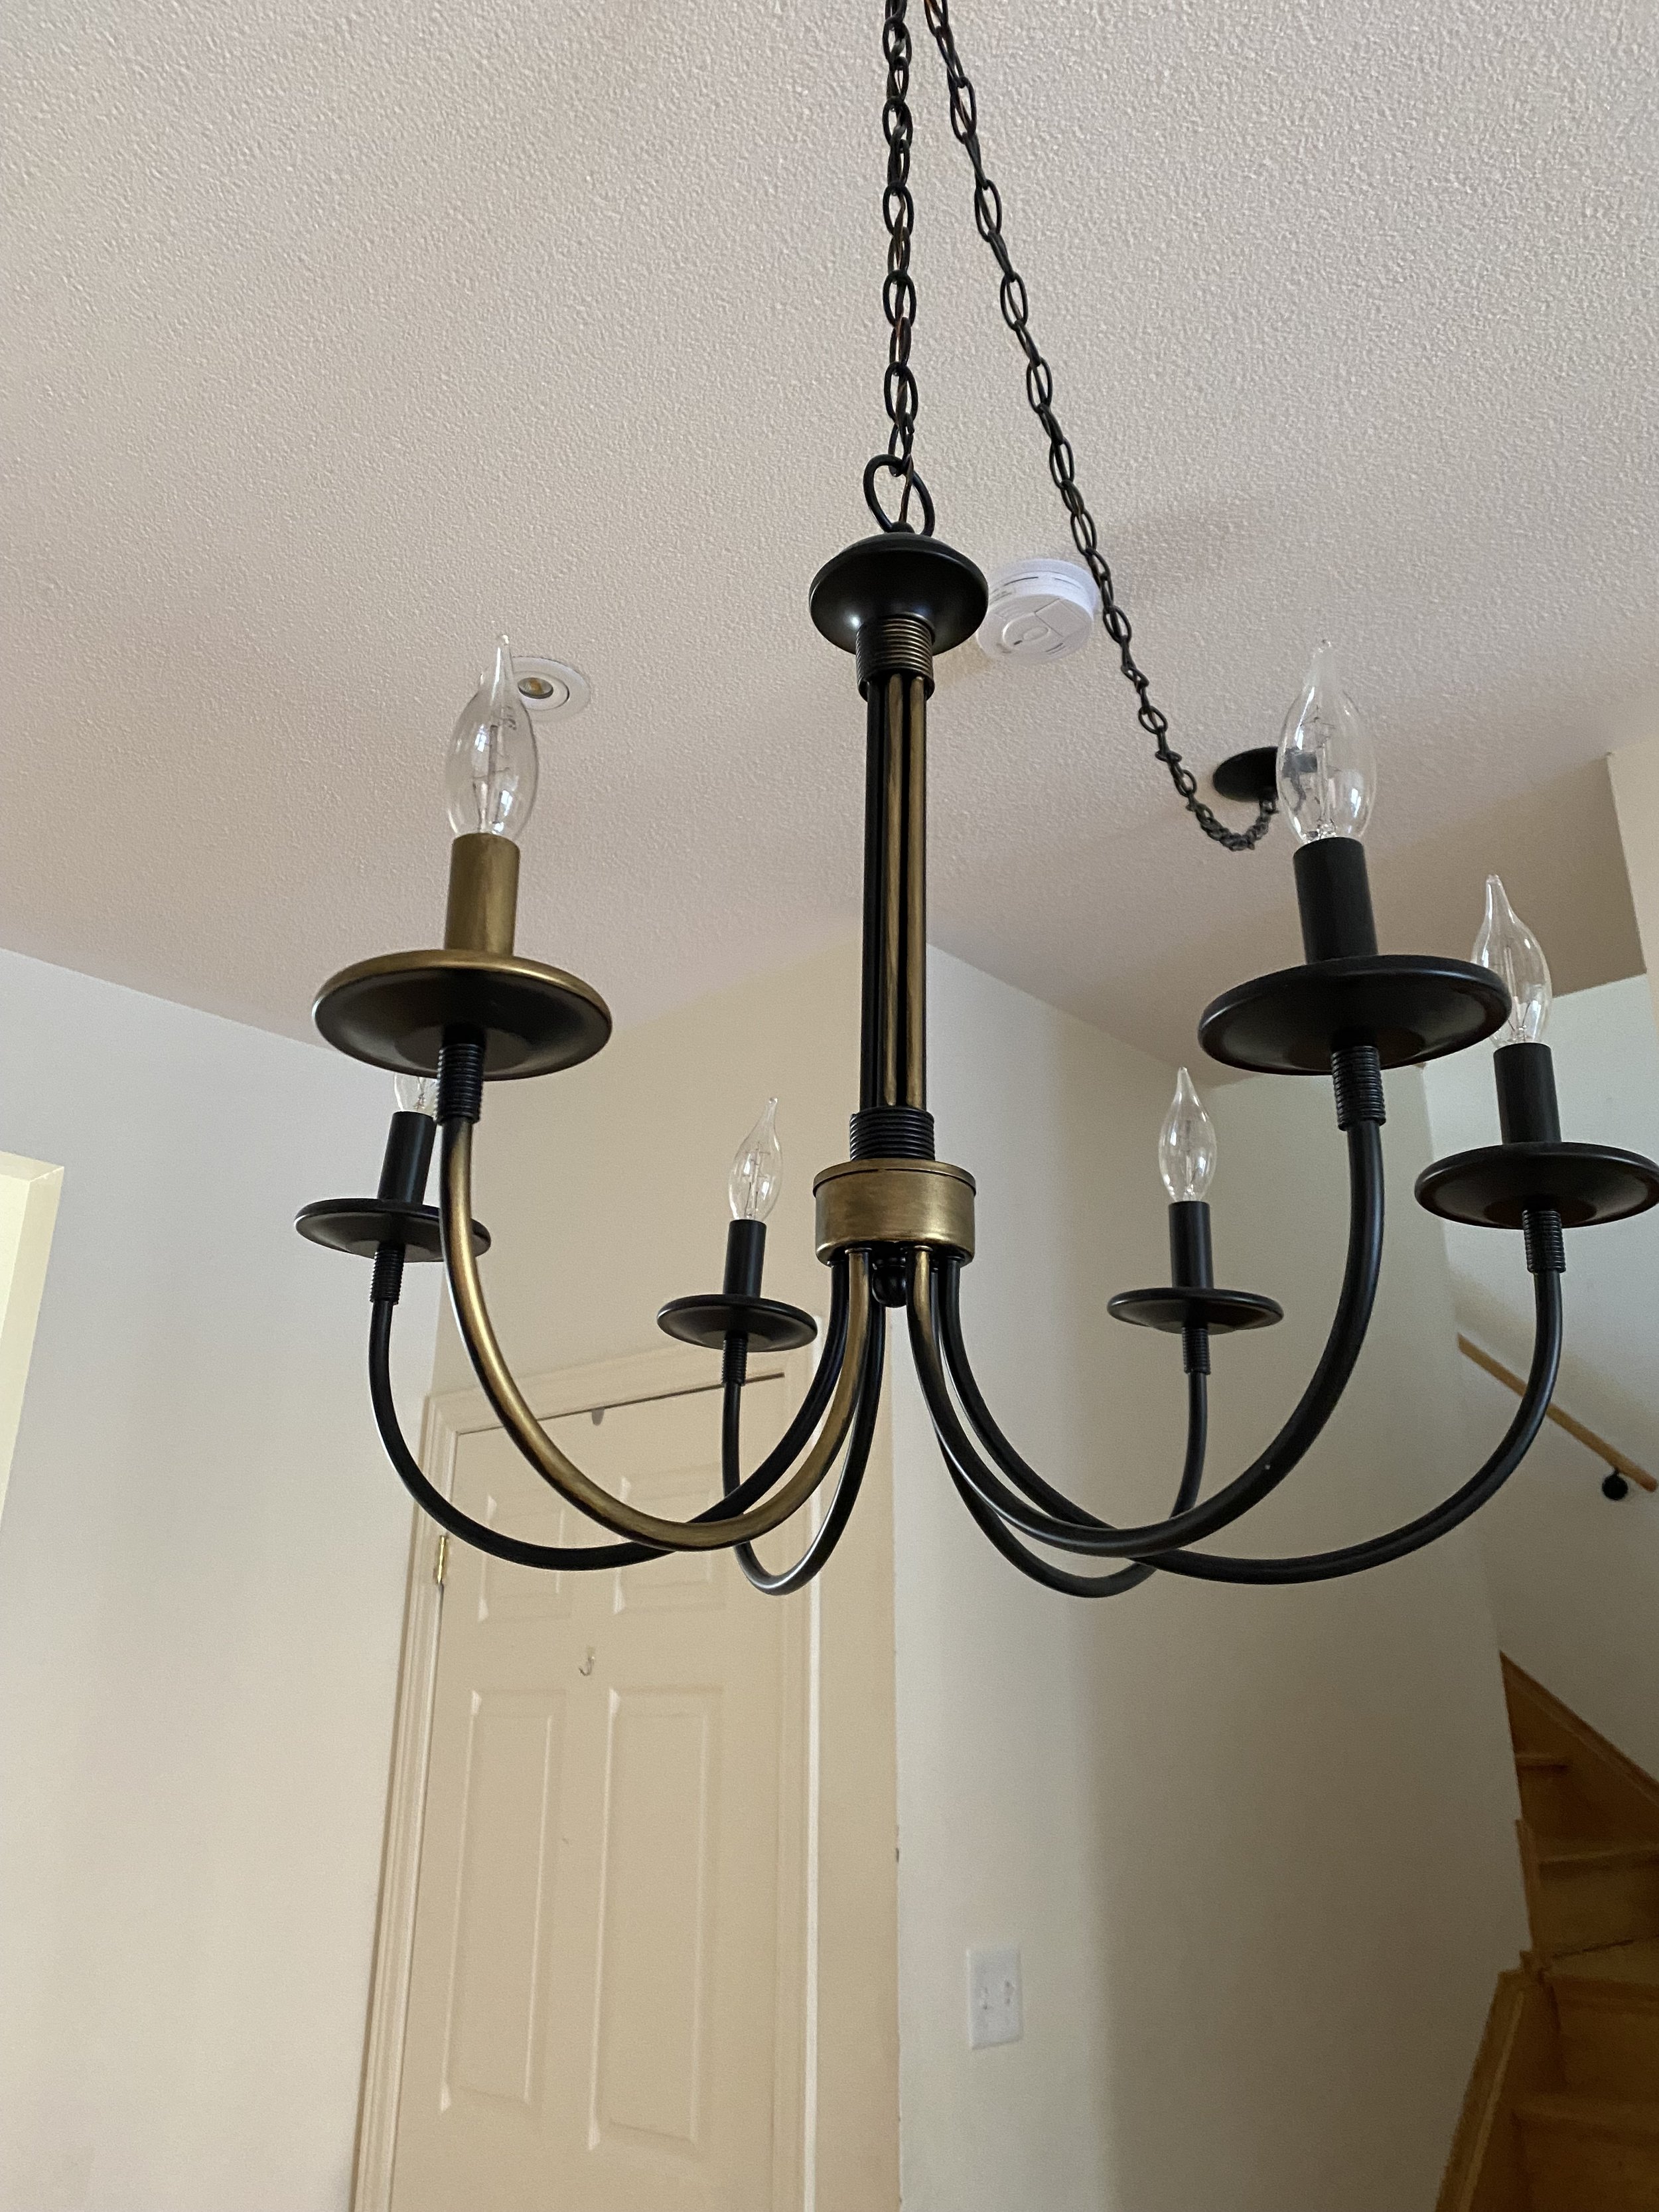
Top Before Rub & Buff and the bottom is after.
I only used about a third of the tube, which is crazy because I expected to use at least two on the chandelier alone; a little does go a long way. There were a few areas that I wasn’t crazy about, so when it completely dried, I went back over it and then I was happy I added a little bits of distressing to some part of the chandelier just because I felt like the colour was antique looking. I wanted it to look more authentic.


If you have something lying around the house that could use a spruce up, I encourage you to try Rub & Buff, and if you do, I would love to know what you think.
Megan, xo