
DIY Terracotta Pumpkins

October 1st marks the start of Halloween decorating at our house. Like many of you, the terracotta pumpkins from Potter Barn caught my eye this year... the price tag, however, did not.

I saw a few Diy videos floating around and thought I could do that, but I dry brushed white paint instead of using flour or baking soda. I wish I had made the base of the pumpkins a little less orangy pink but say la vie. Overall I'm happy with how they turned, especially for under $20 each instead of the $50+ from PB.
My first stop was Michaels, where I picked up ceramic pumpkins and terracotta paint. These pumpkins are solid and heavy. Next year I'm going to look for something more lightweight. I'm not sure how I'll store these.

First, I painted the base in the Terracotta orange colour and let it dry to the touch.

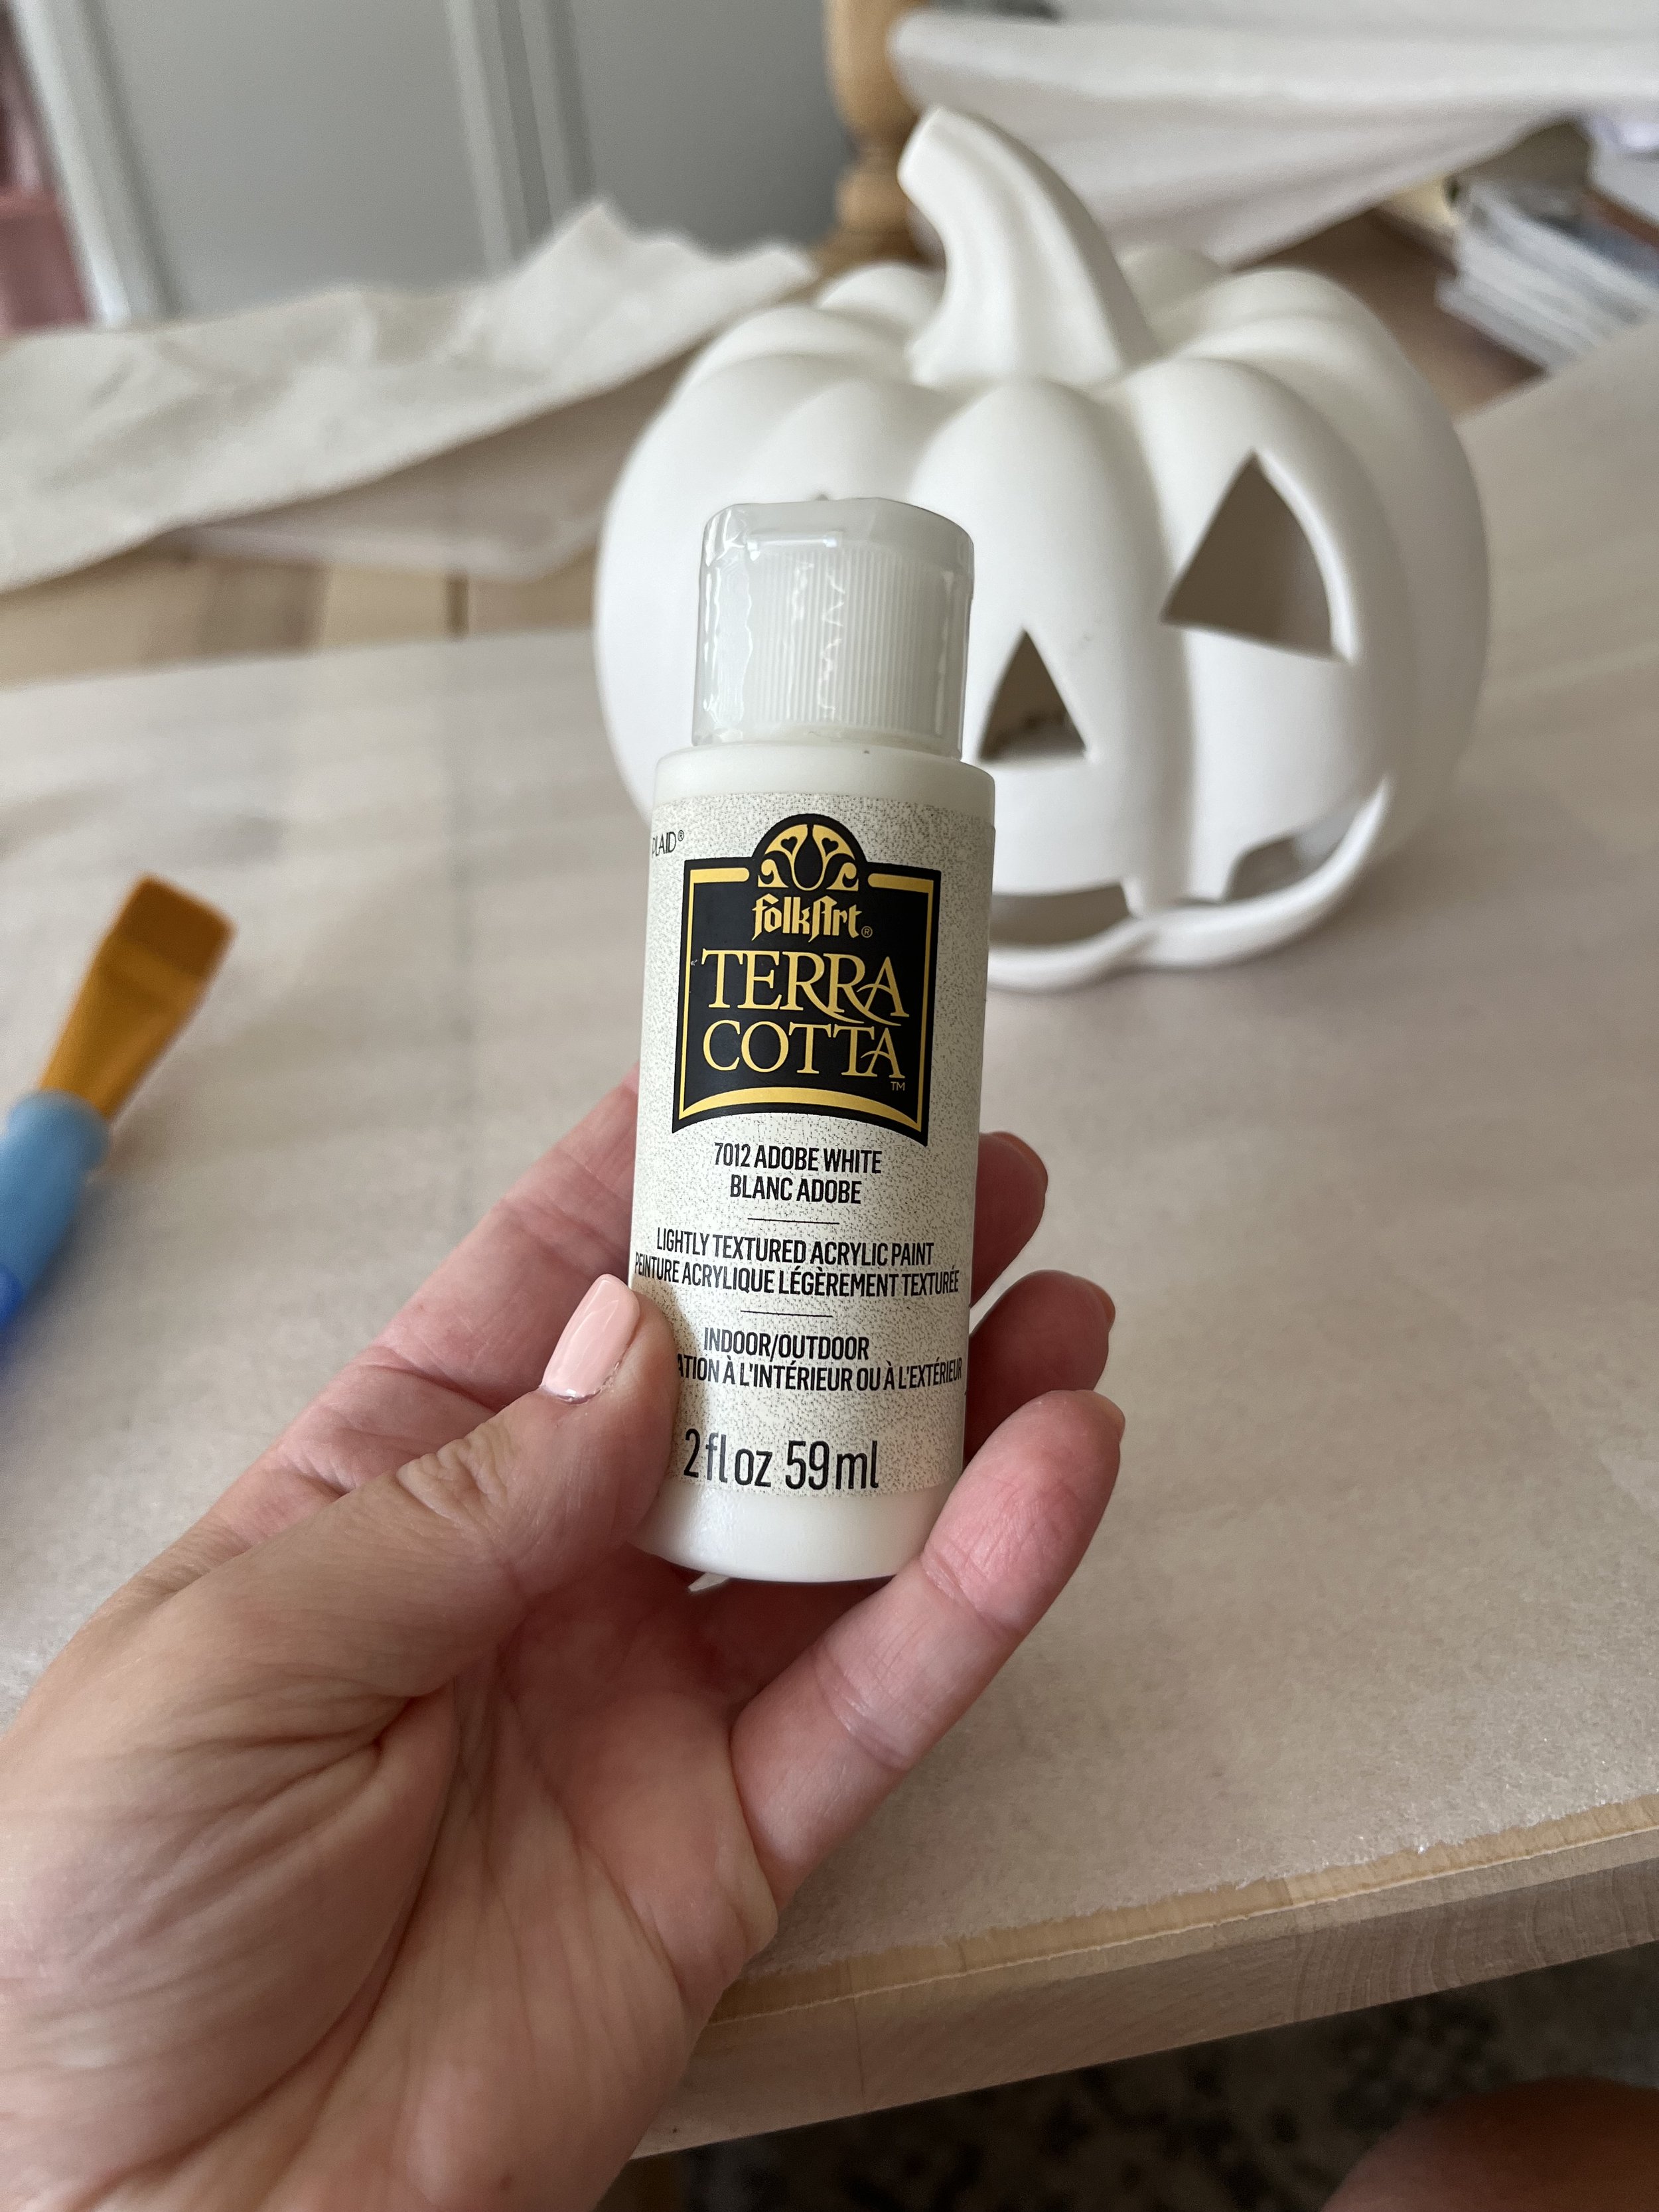

Then I went in with some white using a dry brush technique. Basically, it uses a dry paintbrush with as little paint as possible and then I make small circles. Before the white paint dried completely, I used my finger to rub it in more, making it less uniform and smudgy. I didn't add any additional top coat or protection in case I changed my mind and wanted to repaint them. The paint I used adheres well to ceramics, glass, tin, and plastic surfaces. I saw a few bloggers who mixed it with some baking soda and brown paint colour. If I were to repaint them, I might try doing that.

Even though this was a very simple, quick DIY, it felt so good to be creative. I forgot how much I loved painting and adding my little touches to the decor in our home. I'm hoping that now that I have someone helping me out with Bennett one or two mornings a week, I'll have more time to be creative; if you have any DIYs or trends, you want me to tackle, message me on Instagram or send me an email.
Thank you for stopping by!
Megan, xo